How to Check if Your Reformer Rails Are Straight
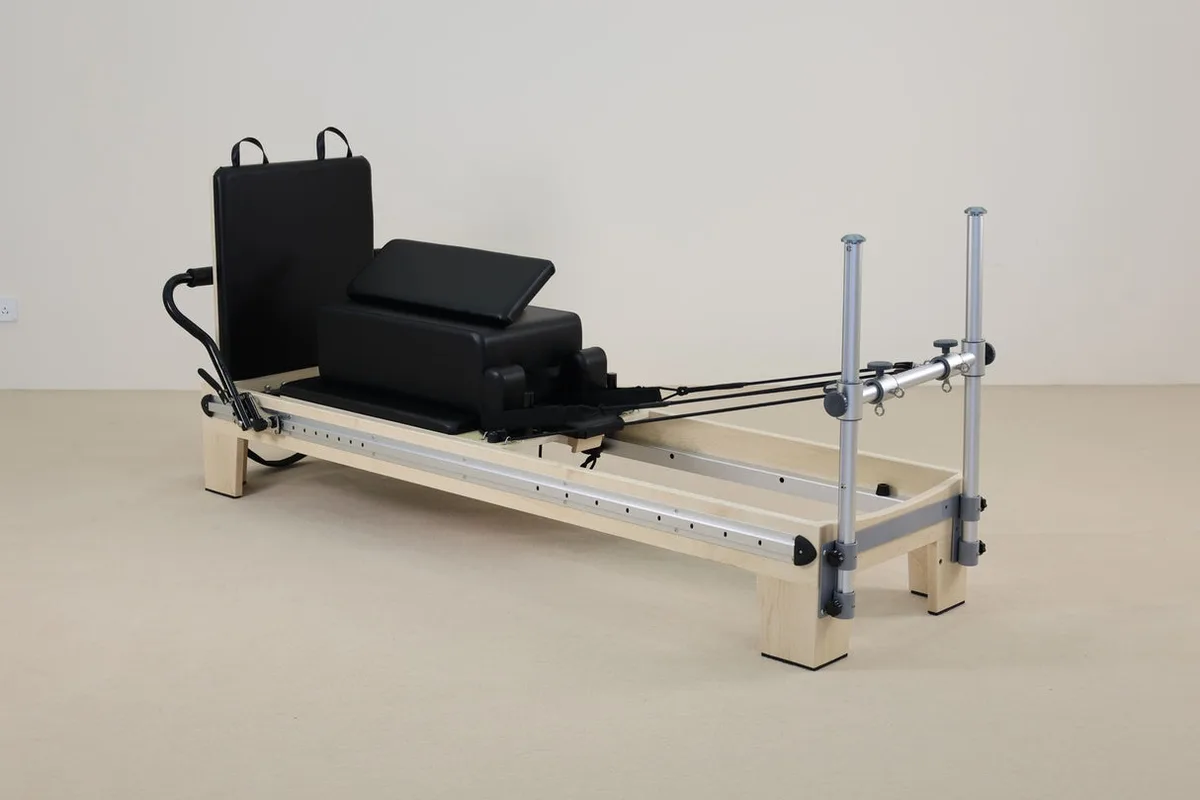
Learning how to check reformer rail straightness keeps your Pilates equipment smooth, quiet, and safe for everyday training. When a carriage chatters or drags, misaligned guide channels are often the real culprit behind the problem. Catching frame deflection early protects delicate wheel bearings and prevents costly structural damage to your studio setup.
Technical documentation from fitness safety groups like ASTM International highlights the need for regular structural audits on commercial resistance gear. A straightness check isolates horizontal bow, vertical sag, and frame twist across extruded aluminum or hardwood rails. Here is the exact diagnostic process to measure your frame geometry with precision.
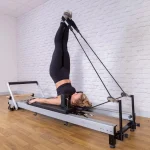
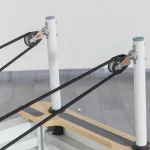
Image source: Web (Bing) / leaderfit-equipement.com (Web image (fair-use with source credit))
Quick Answer
To check reformer rail straightness, remove the carriage to expose both tracks. Sight down each rail from end to end at eye level. Lay a 48-inch precision straightedge along the top and inside edge.
Slide feeler gauges underneath to measure any light gaps. Cross-measure diagonal frame corners with a trammel bar to detect frame twist.
What Rail Straightness Means on a Pilates Reformer (and Why It Matters)
Rail straightness refers to the true linear path of the guide channels along the length of the frame. Reformer rails must stay straight in two distinct directions. Horizontal straightness prevents carriage wheels from binding side to side.
Vertical straightness ensures the carriage rolls flat without dipping in the center.
When rails deflect, the carriage wheels fight friction instead of gliding freely. This drag changes the dynamic resistance profile of the springs during exercises. Over time, crooked rails shave polyurethane off guide wheels and damage internal bearing races.
Frames can lose alignment due to rough shipping, uneven studio flooring, or wood movement from humidity changes. Regular straightness audits keep movement silent and protect your investment.
Telltale Signs Your Reformer Rails Are Bowed, Pinched, or Out of Square
Equipment issues rarely happen overnight. They usually start as subtle mechanical quirks during daily workout sessions.
Watch for these primary physical symptoms:
- Carriage sticking or slowing down at a specific point along the track.
- Squeaking, clicking, or vibration during light-spring movements.
- Uneven wear patterns on carriage wheel flanges or rail surfaces.
- The carriage drifting sideways and rubbing against one side of the channel.
- Resistance feeling noticeably heavier on the return stroke than on the press.
If the carriage rolls smoothly at both ends but pinches in the middle, lateral rail bow is almost certainly present.
Essential Tools for Checking Rail Straightness and Frame Alignment
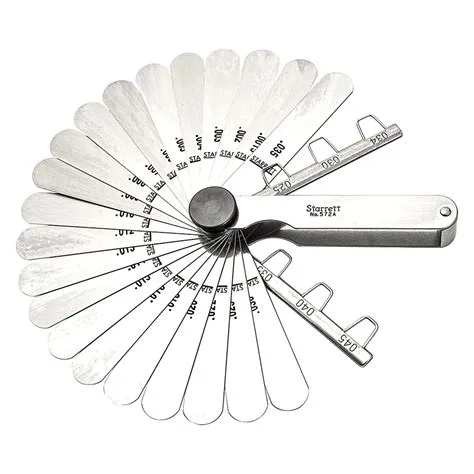
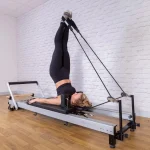
Image source: Web (Bing) / covingtonandsons.com (Web image (fair-use with source credit))
Precision diagnostics require dedicated mechanical measurement tools rather than visual guesswork. Standard household tape measures flex too much over seven-foot spans to deliver trustworthy readings.
The right inspection tools isolate tiny deviations before they ruin your bearings.
| Tool | Primary Purpose | Standard Tolerance Range |
|---|---|---|
| Precision Machinist Straightedge (48 to 72 inch) | Checks top and side rail camber | Flat to within 0.001 inches per foot |
| Feeler Gauge Leaf Set | Measures gap clearances under straightedge | 0.0015 to 0.035 inches |
| Monofilament Line (0.012 inch) | Checks full-span straightness across entire frame | Spans full 86 to 98 inch frames |
| Trammel Points on Rigid Beam | Measures cross-diagonal squareness | Exact point-to-point comparison |
| Digital Calipers | Measures rail track spacing and parallelism | Accurate to 0.0005 inches |
Step-by-Step Guide: How to Inspect and Measure Reformer Rail Straightness
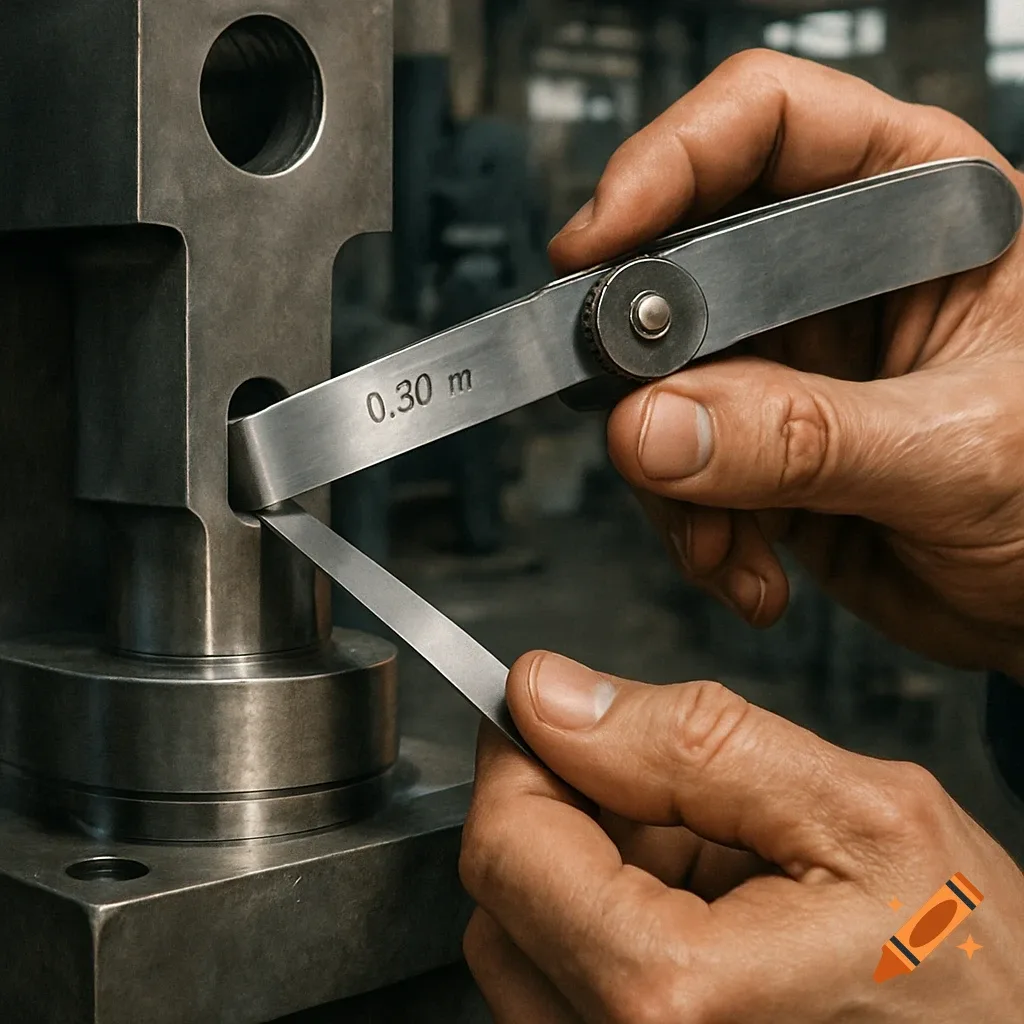
Image source: Web (Bing) / craiyon.com (Web image (fair-use with source credit))
Step 1: Pre-Inspection Prep and Carriage Removal
Unclip all springs from the gear bar and place them in the rest position. Carefully lift the carriage off the tracks and set it on a padded mat. Wipe down the aluminum or wooden rail channels with a clean microfiber cloth to remove dust, hair, and old lubricant.
Step 2: The Sightline Inspection (Checking for Vertical Sag and Obvious Bows)
Crouch at the footbar end of the reformer frame. Lower your eye line level with the top running surface of the left rail. Look straight down the edge toward the headrest to spot dips or bends.
Repeat this visual check on the right rail and along the inside guide walls.
Step 3: The Precision Straightedge and Feeler Gauge Test (Measuring Camber)
Place your machinist straightedge flat along the top surface of the rail. Shine a small flashlight from behind the straightedge. Slide a thin feeler gauge leaf into any visible light gaps between the rail and the tool edge.
Move the straightedge down the rail in overlapping steps to map both the top surface and the inside lateral edge.
Step 4: The Monofilament String Line Method (Full-Span Inspection)
Clamp two identical 0.50-inch wooden standoff blocks at the far ends of the rail. Stretch a 0.012-inch monofilament line tightly between the blocks above the rail surface. Measure the clearance between the line and the rail face at the center and quarter points with digital calipers.
Any deviation from 0.50 inches reveals rail camber across the full span.
Step 5: Diagonal Trammel Verification (Diagnosing Frame Twist and Racking)
Mount trammel points onto a rigid wooden bar. Set the distance from the top-left carriage stop to the bottom-right frame corner bolt. Swing the beam to test the opposite diagonal from top-right to bottom-left without adjusting the points.
A mismatch between diagonal measurements proves the frame is racked out of square.
Understanding Tolerances: How Much Rail Deflection Is Acceptable?
Reformer rails do not require aerospace perfection, but tight mechanical limits keep carriage travel smooth. As of 2026, standard commercial manufacturing guidelines allow minimal flex across aluminum extrusions and seasoned wood frames.
General alignment thresholds for studio-grade equipment include:
- Rail Bow (Horizontal Camber): Less than 0.020 inches (0.50 mm) over an 84-inch run.
- Vertical Deflection (Sag): Less than 0.030 inches (0.75 mm) under resting conditions.
- Rail Parallelism: Within 0.015 inches (0.40 mm) variation along the entire travel path.
- Frame Squareness (Diagonal Offset): Less than 0.0625 inches (1.50 mm) total diagonal difference.
Gaps under 0.010 inches rarely create noticeable glide issues during exercise. Deflections exceeding 0.030 inches cause carriage binding and require physical shimming or track adjustment.
Troubleshooting and Correcting Rail Alignment Issues
Fixing out-of-spec rails depends on your frame construction and the specific type of deflection you measured. Aluminum extrusion frames and solid wood models respond differently to adjustment.
If your diagnostic tests revealed frame twist or lateral rail bow, work through these standard correction procedures:
- Loosen frame cross-member bolts by one half turn, square the frame diagonals, and re-torque the fasteners evenly.
- Place thin stainless steel shim stock under low rail mounting brackets to fix vertical sag.
- Adjust lateral guide brackets or C-channel set screws in small quarter-turn increments to relieve mid-track pinch points.
- Level all four reformer legs on the floor, because an uneven subfloor twists the entire chassis.
- Inspect guide wheel axles for play before assuming an aluminum rail extrusion has permanently warped.
Wood frame models often shift with seasonal changes in ambient humidity. Check the moisture level in the studio before attempting mechanical adjustments on timber rails.
Common Inspection Mistakes That Lead to False Diagnostics
Misinterpreting straightness data can lead to unnecessary rail replacements when the actual issue is minor. Technicians often misdiagnose carriage drag because several components produce similar symptoms.
Watch out for these common diagnostic errors:
- Leaving carriage springs attached during testing, which introduces lateral torque and pulls rails out of alignment.
- Using a standard carpenter level instead of a certified machinist straightedge.
- Measuring on an unlevel floor without zeroing the frame supports first.
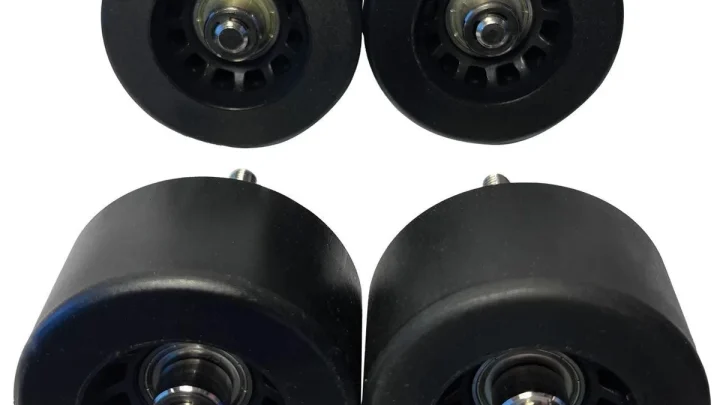
- Mistaking flat-spotted polyurethane wheels or worn ball bearings for rail surface defects.
- Over-tightening rail mounting hardware, which pinches aluminum channels inward.
Always inspect carriage wheel bearings independently. Spin each wheel by hand off the rail to confirm it rotates freely with zero grinding.
Frequently Asked Questions About Reformer Rail Maintenance
How often should you check reformer rail straightness?
Commercial studios should run a quick sightline check monthly and a full straightedge inspection annually. Home users only need to check alignment once every two years, or whenever carriage glide feels uneven.
Can a bowed aluminum reformer rail be straightened?
Minor bows can be resolved by loosening frame hardware and re-torquing bolts in sequence. Severe bends caused by impact damage cannot be safely straightened and require complete rail extrusion replacement.
Why does my reformer carriage stick in the middle of the track?
Carriage sticking at mid-span usually indicates inward horizontal rail bow, loose frame cross-members, or debris build-up in the guide tracks. Check the track width at the center with digital calipers.
Do wooden reformers warp more easily than aluminum ones?
Solid hardwood frames expand and contract with temperature and relative humidity shifts. Keep studio humidity between 40% and 60% to prevent seasonal rail twist on timber equipment.

Similar Posts