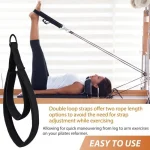
How to Adjust Reformer Straps for Different Heights
Getting your Pilates setup right changes your entire workout. Knowing how to adjust reformer straps for different heights keeps your joints aligned and ensures your muscles do the actual work. When straps are off by even an inch, your body compensates by straining the neck, lower back, or hip flexors.
As of 2026, equipment guidelines from manufacturers like Balanced Body emphasize that proper mechanical setup is critical for joint safety. Dialing in the correct strap length takes less than a minute once you know the basic physical markers.
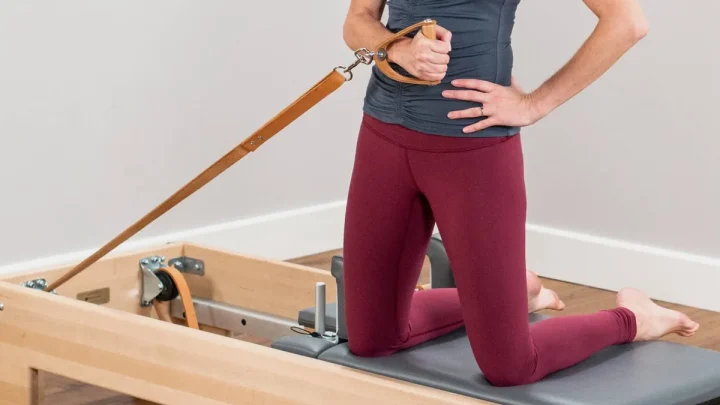
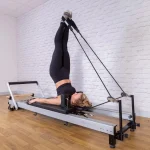
Image source: Bing (Web (fair-use with source credit))
Quick Answer
To adjust reformer straps for different heights, use the shoulder rests as your baseline. Pull the loops until the base of the handle touches the top of the shoulder rests. Shorten straps by two inches for users under 5'2".
Lengthen straps by two to four inches for users over 5'10". Keep both sides completely even.
Why Proper Reformer Strap Length Matters for Your Body
Reformer straps act as the direct connection between your limbs and the spring resistance. When straps are too long, the carriage bottoms out against the home bumper before your muscles reach full contraction. This slack removes resistance at the exact moment your core should engage.
When straps are too short, your joints take the brunt of the load. Short ropes pull your arms into hyperextension during arm series and force your pelvis to tuck during leg circles. Over time, this creates chronic anterior shoulder strain and tight hip flexors.
Correct strap length creates continuous tension throughout the entire exercise arc. Your spine stays neutral, your carriage glides smoothly, and you get the full strengthening benefit of every repetition.
The Universal Baseline: How to Check Your Neutral Strap Length
Every strap adjustment starts at a neutral benchmark. Before changing lengths for specific body sizes, you need to calibrate the reformer to its factory standard.
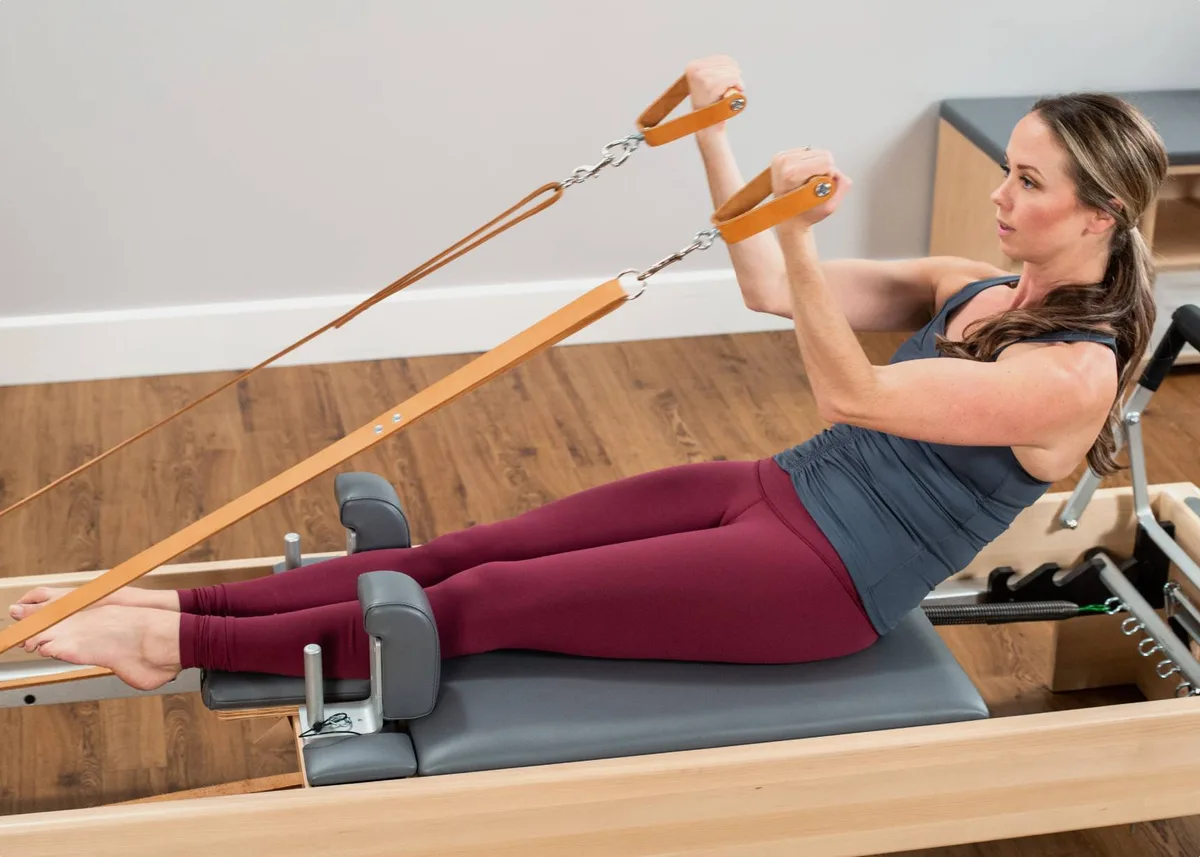
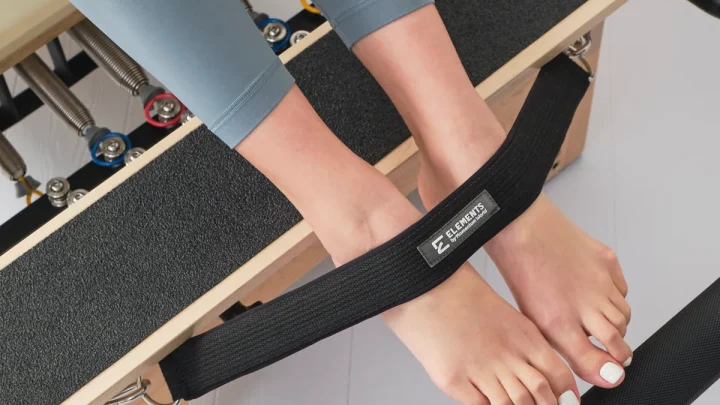
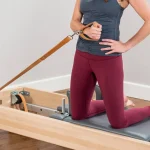
Image source: Web (Bing) / pilates.com (Web image (fair-use with source credit))
- Attach at least one heavy or medium spring to keep the carriage securely against the bumper.
- Pull both ropes forward toward the carriage headrest.
- Lay the sewn junction of the double loops directly over the top of the shoulder rest posts.
- Check that the ropes are taut without pulling the carriage away from the stopper.
- Hold both metal clips together in the center of the carriage to verify that both sides are identical in length.
If the loops fall short of the shoulder rests or hang loosely past them, adjust your cleats or buckles to hit this standard starting point.
Height-Based Adjustment Decision Tree (Petite, Average, and Tall)
Once your neutral baseline is set, adjust the working length based on height and body proportions.
| Height Category | Height Range | Strap Adjustment from Baseline | Primary Benefit |
|---|---|---|---|
| Petite | Under 5'2" (157 cm) | Shorten 1.5 to 3 inches | Full resistance at start of movement |
| Average | 5'3" to 5'9" (160 to 175 cm) | Neutral baseline (at pegs) | Balanced travel and full spring range |
| Tall | 5'10" and above (178 cm+) | Lengthen 2 to 4+ inches | Prevents shoulder and hip impingement |
Petite Users (Under 5'2")
If you are under 5'2", standard loops often leave too much slack. You will likely finish an arm press before the carriage moves significantly.
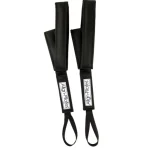
Shorten each rope by 1.5 to 3 inches past the standard shoulder post position. When using dual-loop straps, petite users should use the smaller inner loop for both hand and foot exercises. This keeps the spring tension active without requiring excessive reach.
Average Height Users (5'3" to 5'9")
If your height falls between 5'3" and 5'9", the standard shoulder rest baseline works for most exercises.
Use the short loops for hand work like the Chest Expansion and Hundreds. Switch to the long outer loops for feet-in-straps movements like Leg Circles and Frogs. This standard setup gives you full carriage travel without bumping the stoppers.
Tall Users (5'10" and Above)
If you are 5'10" or taller, standard strap lengths will compress your range of motion. Your knees may hit your chest during leg work, or your shoulders may roll forward during arm pulls.
Lengthen the ropes by 2 to 4 inches beyond the shoulder rests. If your reformer has adjustable gear bars, move the carriage stop back one position. Tall movers should also place their feet in the long loops and hands in the long loops during overhead extension work.
Accommodating Long Torsos vs. Long Legs
Height alone does not tell the whole story. Body proportions dictate how tension enters your joints.
- Long legs with a short torso: Lengthen straps by 1 to 2 inches for leg work to prevent your pelvis from lifting off the carriage pad.
- Long torso with short arms: Shorten straps by 1 inch for arm series so your lats engage before your elbows pass your ribcage.
- Limited hamstring flexibility: Treat long legs like a tall body type by lengthening straps 2 inches to avoid lower back rounding.
Step-by-Step Guide: Adjusting Straps on Common Reformer Brands
Different reformer models use distinct locking mechanisms to set rope lengths.
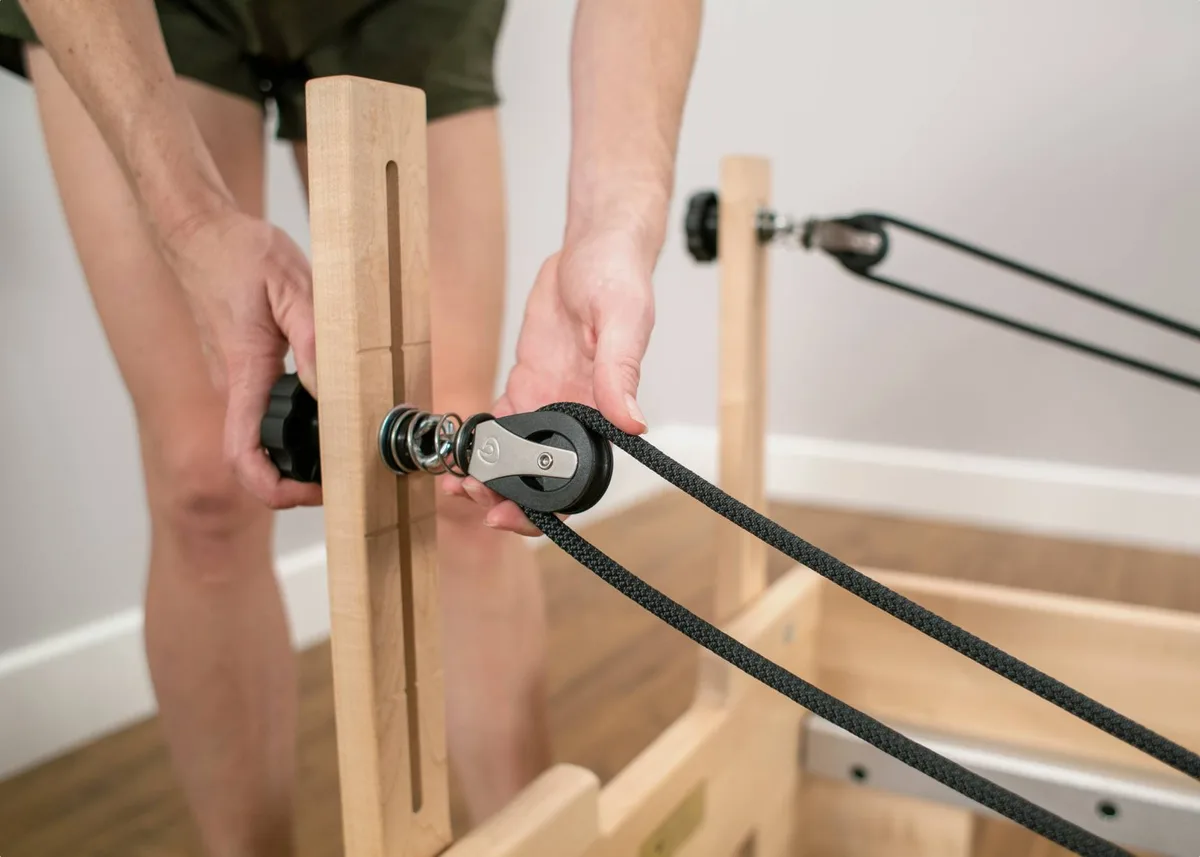
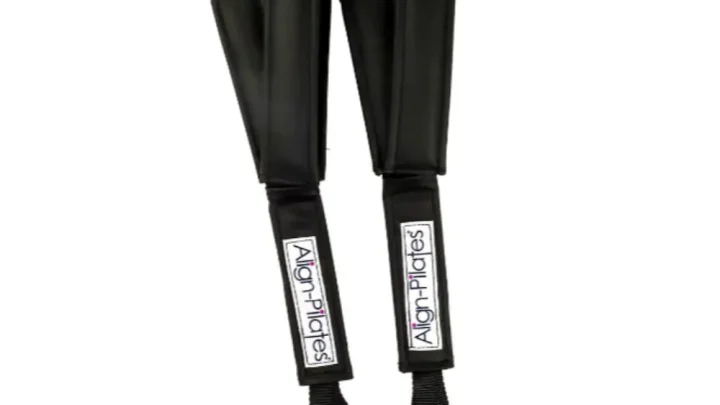
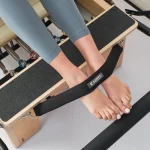
Image source: Bing (Web (fair-use with source credit))
Cleat-Based Systems (Balanced Body Studio & Allegro)
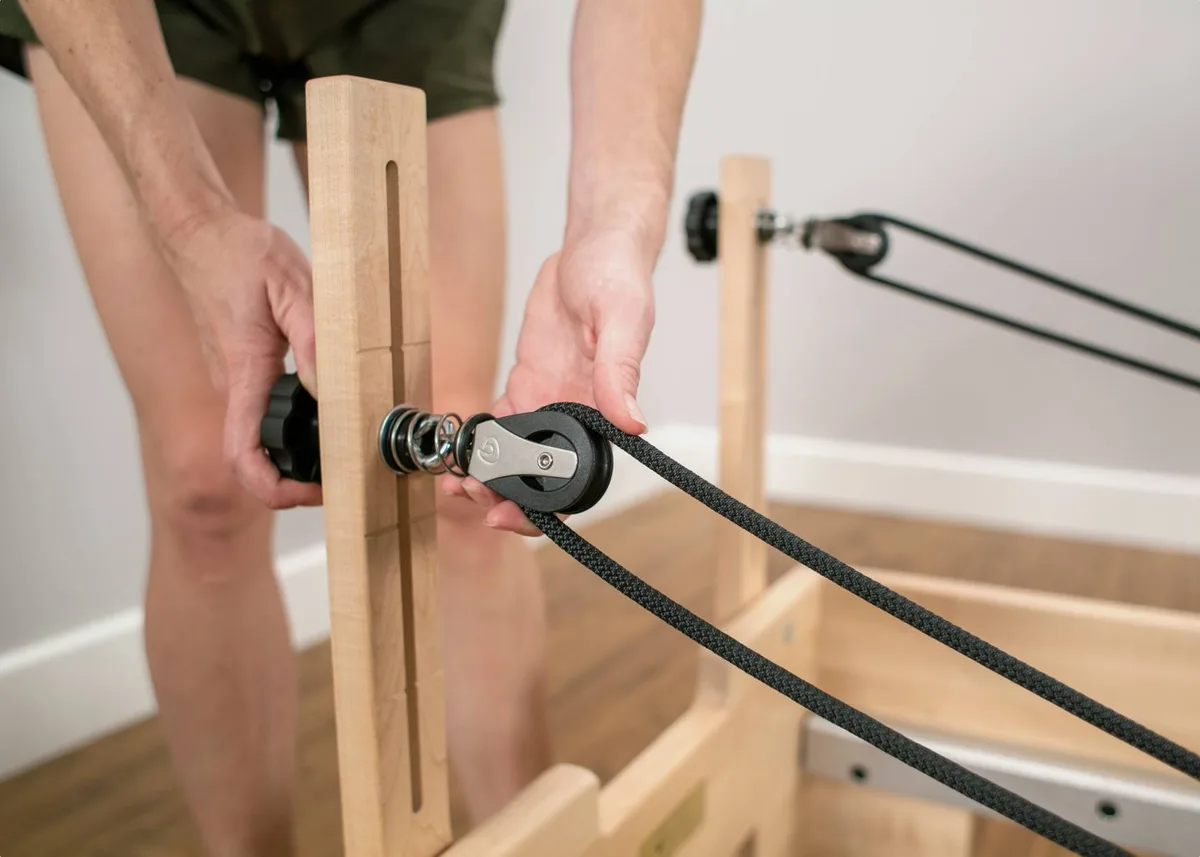
Many modern reformers use nautical cam cleats mounted behind the headrest or on the carriage top.
- Stand behind the carriage and pull the rope upward to pop it out of the metal cleat teeth.
- Slide the rope forward to add length, or pull it toward the headrest to shorten it.
- Push the rope firmly downward between the cleat jaws until the teeth bite into the braided cover.
- Give the loop a quick tug to make sure the cleat holds under dynamic load.
Under-Carriage Systems and Sliding Risers (Merrithew & Peak)
Some commercial frames store the excess rope underneath the carriage deck or along adjustable vertical risers.
- Kneel beside the reformer and locate the locking pins or rope clamps beneath the carriage pad.
- Depress the spring lock to release tension and slide the rope through the channel.
- Adjust the vertical pulley risers at the rear frame to match your shoulder height when lying down.
- Re-engage the locking pin and confirm that both riser pulleys sit at the exact same notch level.
Classical Buckle and Leather Straps (Gratz)
Classical apparatus uses non-stretch leather straps attached to metal buckles under the frame.
- Unhook the leather strap tongue from the current brass buckle hole.
- Count the buckle holes to ensure both left and right straps use the identical notch position.
- Thread the excess leather tongue through the retaining loop to keep it clear of the wheels.
Dynamic Fit Tests: How to Confirm Your Straps Are Right During Movement
Static measurements are a great starting point, but dynamic tests tell you if your fit works during motion.
First, perform the T-Arm Test. Lie on your back, place your hands in the short loops, and open your arms straight out to the sides in line with your shoulders. The ropes should feel taut with zero carriage movement.
If the carriage drifts open, the straps are too short. If the ropes sag toward the frame, they are too long.
Next, run the 90-Degree Leg Test. Place your feet in the long loops and bring your legs into a tabletop position with hips and knees bent at 90 degrees. The ropes should have light tension while the carriage rests gently against the bumper.
Lower your legs to a 45-degree angle. You should feel continuous resistance across your core without your lower back arching off the pad.
Critical Setup Mistakes That Cause Joint Strain
The most frequent error in strap adjustment is uneven rope length. If one side is even a half-inch shorter than the other, your spine rotates slightly under spring load. This causes uneven hip hiking, torque across the pelvis, and one-sided lower back tightness.
Another serious mistake is adjusting ropes without a spring attached. If the carriage is free to roll, setting strap length becomes impossible because the carriage drifts. Always lock the carriage against the bumper using at least one heavy spring before touching your cleats.
Failing to seat the rope completely into the cleat teeth is a major safety risk. If the rope slips out while you are bearing weight, the carriage snaps back abruptly. This sudden loss of tension can hyperextend your elbows or strain your shoulder rotator cuff.
Setting pulley risers too low causes the braided ropes to scrape against the carriage vinyl. This creates friction that ruins the smooth glide of the machine and wears down the rope fibers quickly.
Quick-Reference Guide: Strap Adjustments by Height and Reformer Type
Matching your body height to the right reformer hardware requires a clear game plan. Use this reference summary to set up any machine quickly.
| Reformer Brand & System | Petite Fit (Under 5'2") | Average Fit (5'3" to 5'9") | Tall Fit (5'10"+) |
|---|---|---|---|
| Balanced Body (Top Cleats) | Pull 2 inches through cleat, use short inner loops | Align loop seam with shoulder posts, standard dual loops | Release 2 to 4 inches out of cleat, adjust gearbar back |
| Merrithew (Under-Carriage / Risers) | Shorten under-deck rope, lower pulley risers 1 notch | Factory baseline lock pin, level pulley risers with pad | Lengthen under-deck clamp, raise pulley risers to top hole |
| Gratz (Classical Leather) | Use top buckle notch, hook small handles | Middle notch, standard leather loop connection | Bottom notch, slide carriage stopper to outer setting |
| Peak Pilates (Cam Cleats) | Shorten 1.5 inches, use short hand loops | Baseline at shoulder post crown, dual loop use | Lengthen 3 inches, use long loops for hand exercises |
Safety protocols from the National Pilates Certification Program recommend double-checking rope symmetry whenever switching users. A quick visual check against the frame markers prevents joint imbalances before your workout starts.
Frequently Asked Questions About Reformer Strap Adjustments
How do I know if my reformer straps are uneven?
Pull both handles together over the exact center of the carriage headrest. Bring the metal clips or stitching lines side by side. If one clip extends past the other, adjust the longer side at the cleat until the metal rings align perfectly.
Should I change strap length between arm and leg exercises?
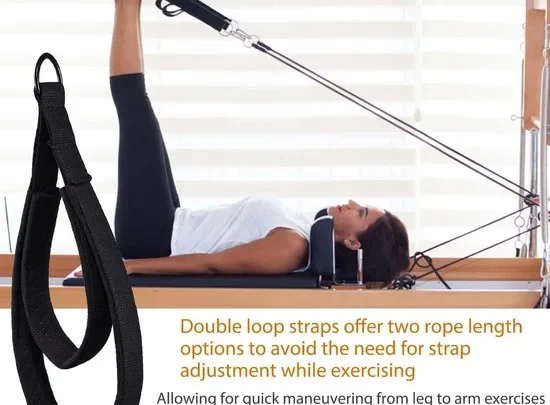
Most modern reformers use dual-loop straps so you do not need to adjust the ropes between exercises. Use the smaller inner loop for arm movements. Switch to the larger outer loop for leg work to maintain proper tension automatically.
What should I do if my carriage bangs against the bumper?
If your carriage hits the bumper before you finish your movement, your straps are too long. Shorten each rope by one to two inches at the cleat. This creates immediate spring tension at the very start of your exercise stroke.
Can I adjust the straps while lying down on the carriage?
Never adjust your strap cleats while lying on the carriage under tension. Always sit up or stand beside the reformer with at least one heavy spring attached. This keeps the carriage stationary and prevents sudden slips or hand pinches.
How often should I check my reformer rope tension?
Check your rope alignment at the start of every workout session. Braided ropes can stretch slightly over time, and nautical cleats can settle. A five-second check against your shoulder rests ensures safe and symmetrical resistance every time you exercise.

Similar Posts