Can You Replace Reformer Ropes Yourself? DIY Guide
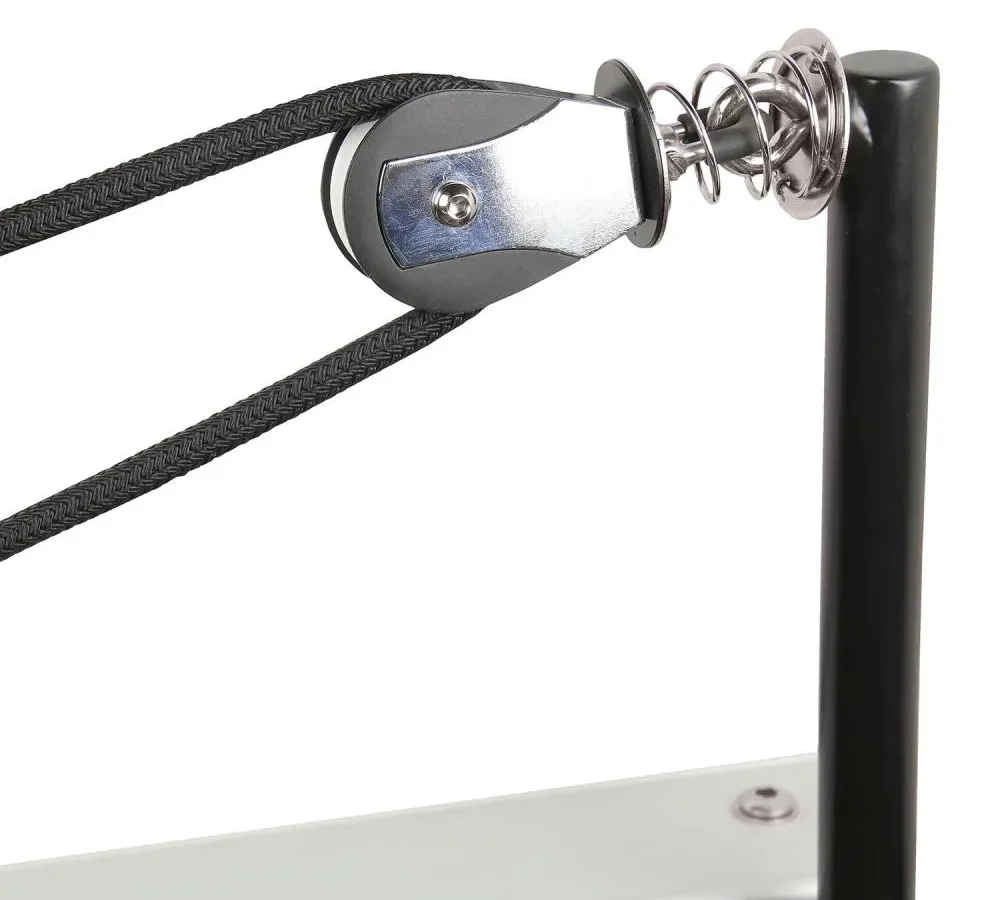
Frayed or slipping ropes can quickly ruin your Pilates workout and compromise your safety on the carriage. If you are wondering whether you can replace reformer rope yourself, the simple answer is yes. Most modern studio and home reformers use standard rigging mechanisms that you can service with basic tools in under thirty minutes.
Manufacturer specifications indicate that high-load reformer ropes must withstand dynamic tension between 50 and 120 pounds without stretching. Using the proper static cordage protects your alignment and prevents sudden mechanical failure. We will walk through the exact steps to evaluate your setup, pick the right materials, and restring your machine safely.
Quick Answer
You can easily replace reformer rope yourself on almost every modern model. The entire process takes under thirty minutes. You only need sharp shears, a lighter, and static double-braided polyester line.
Simply secure your carriage with all springs attached. Remove the old ropes and match the new cut length exactly. Feed the cord through the pulleys and cam cleats.
Level the handles before your next workout.
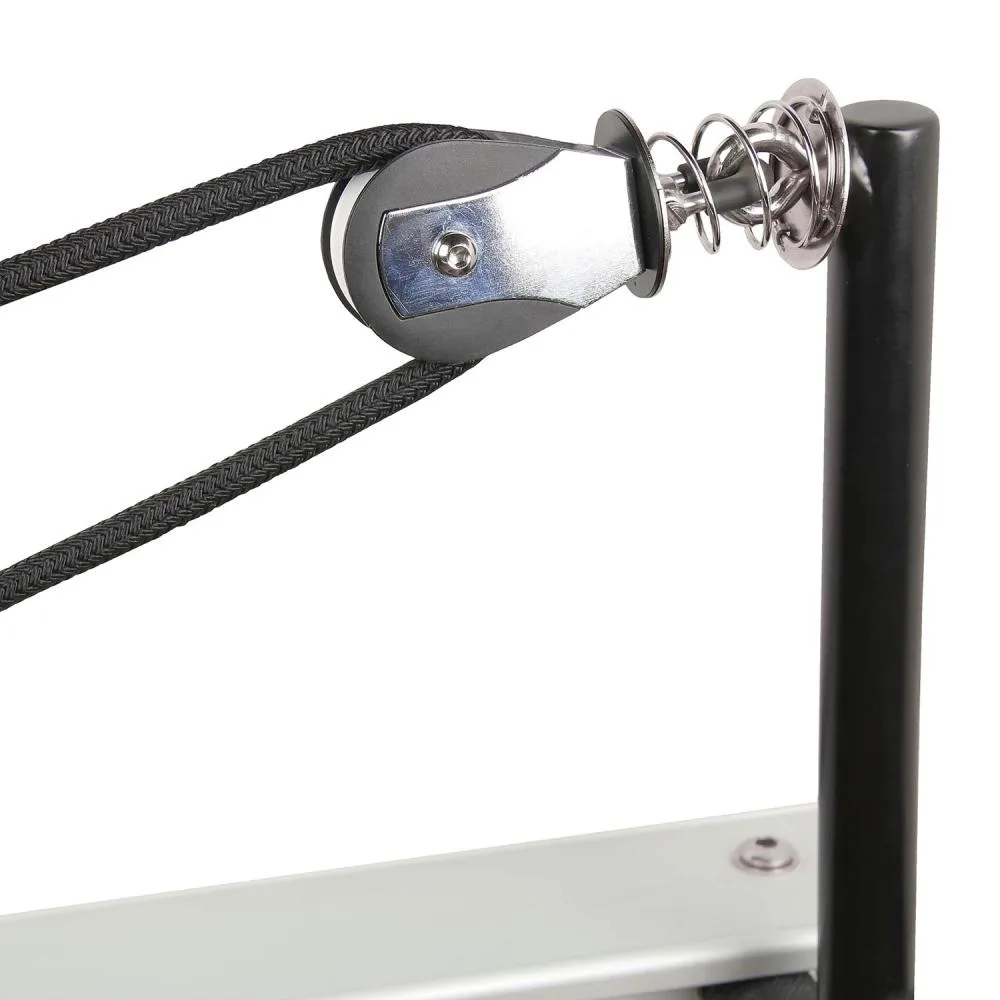
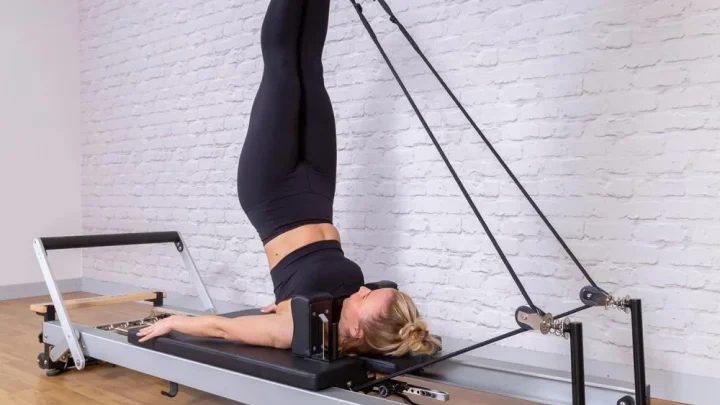
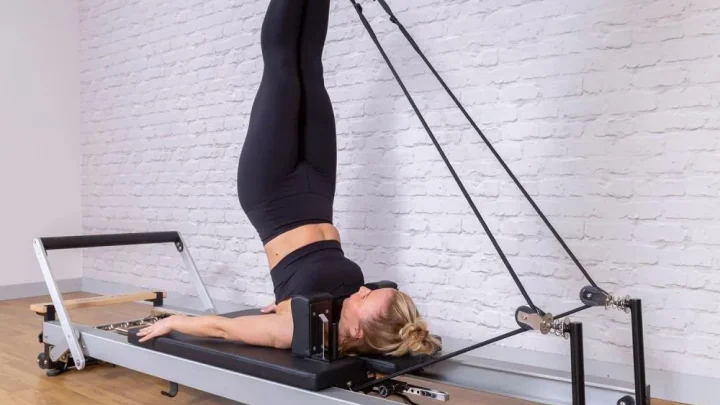
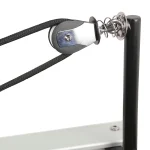
Image source: Web (Bing) / bodynova.de (Web image (fair-use with source credit))
Can You Replace Reformer Ropes Yourself? The Quick Decision Framework
If your reformer uses top-mounted cam cleats or open eyebolts, you can easily handle the swap at home. If your machine features an enclosed internal roller track, the job takes a bit more patience. As of 2026, over ninety percent of rope replacements across major studio brands require no special mechanical training.
Here is how to decide if you should do it yourself or call a technician:
- Standard Cam Cleats (Balanced Body, Peak Pilates): Pure DIY. You thread the line through the pulley riser directly into nautical spring cleats.
- Under-Carriage Anchors (Merrithew SPX Max): Moderate DIY. You must flip the carriage or reach underneath to secure the clevis pins and cleats.
- Traditional Leather Straps (Classical Wooden Reformers): Special order. Classical models use unbraided leather strapping with buckle holes, which requires pre-punched OEM leather rather than synthetic cordage.
- Damaged Pulley Hardware: Call for parts. If your pulley wheels squeak, wobble, or show grooving, replace the hardware alongside the rope.
Warning Signs: How to Tell When Your Ropes Are No Longer Safe
Pilates cordage undergoes friction across the pulley sheave every time you press out. Over time, friction degrades the outer polyester jacket and crushes the internal core. Knowing when to swap your lines prevents mid-exercise snaps.
Watch for these four primary wear signals:
- Core Herniation and Fuzzy Sheaths: If you see white inner fibers poking through the colored outer braid, the structural sheath is compromised.
- Flat Spots Near the Pulley Apex: Squeeze the rope along its high-friction zones. If the cord feels flat or hollow rather than firm and round, the load-bearing core has degraded.
- Asymmetric Rope Stretch: If you lock both ropes at identical cleat marks but one handle hangs lower, your ropes have stretched unevenly. This creates uneven spinal torque during arm work.
- Cleat Slippage Under Load: If the rope creeps through the jam cleat teeth during heavy movements like the Long Box series, the rope diameter has worn down.
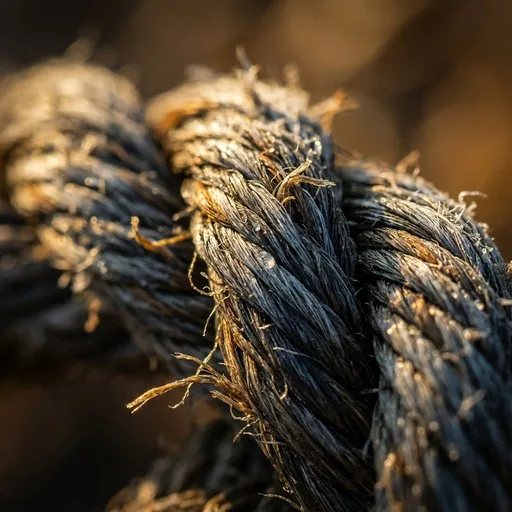
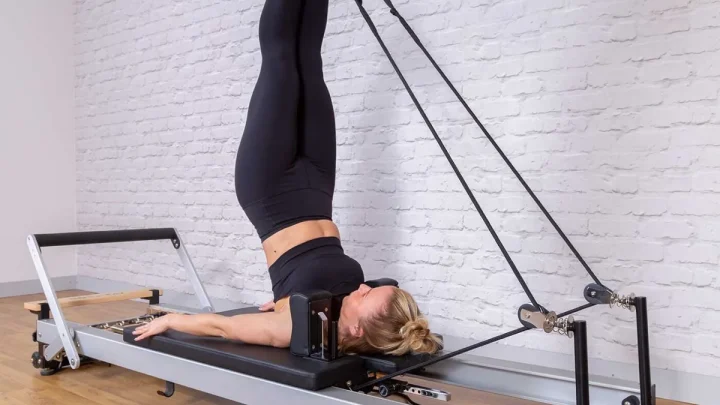
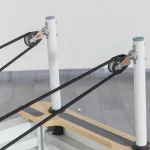
Image source: Bing (Web (fair-use with source credit))
Choosing the Right Rope: OEM Replacement Packs vs. Marine Cordage
You have two solid routes when buying replacement cordage: pre-packaged OEM kits from your reformer maker or bulk marine rigging line. Both options work well if you select the correct material specifications.
Never use dynamic climbing line or generic hardware store nylon. Dynamic rope stretches significantly under load, which destabilizes your joints during bilateral exercises. You need pre-stretched, double-braided polyester or UHMWPE cordage rated by standard rigging guidelines, such as those from the Cordage Institute.
| Spec Factor | OEM Replacement Kits | Bulk Marine Rigging Rope | Generic Hardware Cord |
|---|---|---|---|
| Standard Diameter | 8 mm to 10 mm (exact fit) | 5/16 in or 3/8 in | Varies (often imprecise) |
| Material Type | Low-stretch braided polyester | Double-braid marine polyester | Nylon or Polypropylene |
| Elongation Rate | Under 2% at working load | Under 2% at working load | 10% to 25% (Dangerous) |
| Pre-Cut Length | Pre-measured (17 to 20 ft) | Cut to order by the foot | Spool cut |
| Average Price | $45 to $95 per pair | $15 to $35 per pair | $10 to $20 |
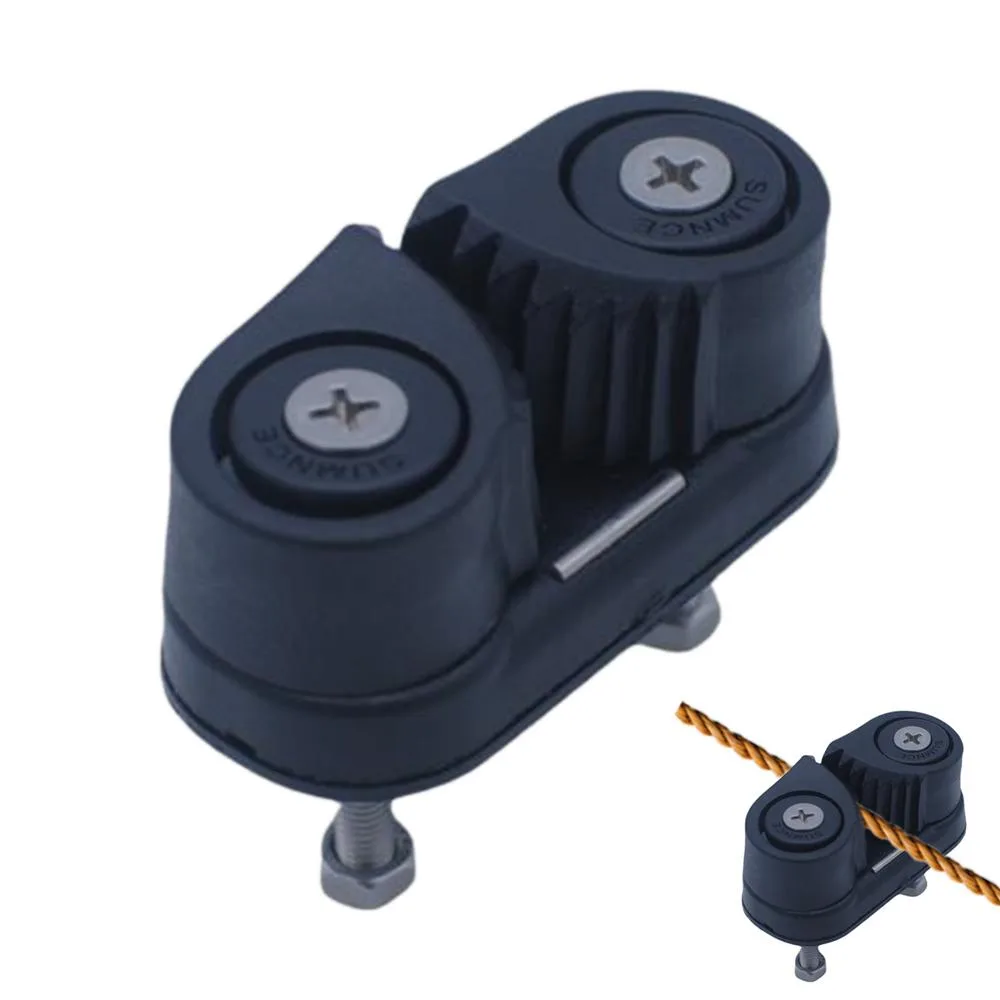
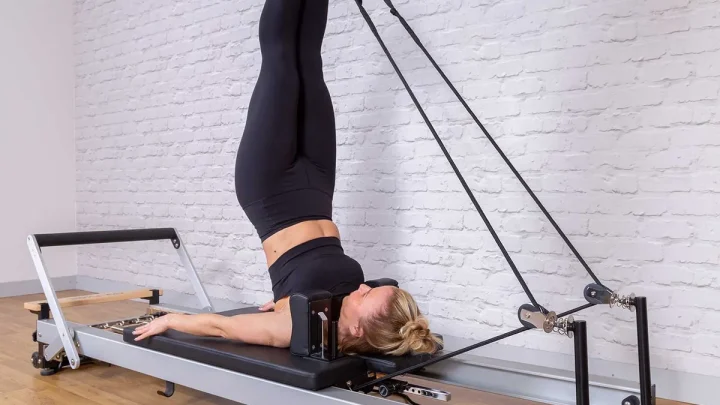
Image source: Web (Bing) / uk.vicedeal.com (Web image (fair-use with source credit))
Step-by-Step Restringing Guide for Common Reformer Types
Restringing your carriage takes about fifteen to twenty minutes per side. Clear your workspace around the frame before starting.
Step 1: Secure the Carriage and Remove the Old Lines
Attach all reformer springs to the gear bar. This locks the carriage firmly against the front stoppers and prevents sudden rolling while you work. Release the old ropes from the cam cleats or bottom clamps.
Unhook your loops and pull the worn line completely free from the riser pulleys.
Step 2: Measure, Cut, and Seal Your New Cordage
Lay your old ropes flat on the floor alongside the new spool. Add six to eight inches of extra length to account for terminal knots or loop attachments. Cut the line using sharp utility shears.
Immediately pass the raw end over a butane flame to melt and seal the inner core to the outer sheath, preventing fraying.
Step 3: Route Through the Pulleys and Cleats
Thread one sealed rope end through the top of your riser pulley from back to front. Feed the tail down into the carriage deck guide or directly into your cam cleat teeth. If your machine routes ropes under the carriage bed, slide the line through the eyelets and anchor it to the clevis dog-bone pin.
Step 4: Calibrate and Equalize Rope Tension
Attach your double-loop straps to the rope ends. Pull both straps forward until the handles touch the back edge of the shoulder rests. Engage the cam cleats simultaneously.
Check that the tension is identical on both sides so your carriage pulls straight.
Critical Mistakes That Cause Slippage, Noise, and Body Misalignment
A sloppy rope installation leads to frustrating noise, accelerated wear, and poor exercise form. Avoiding a few common traps ensures your new cordage performs like factory-fresh equipment.
Here are the most frequent errors to avoid during installation:
- Ignoring Rope Diameter Tolerances: Reformer cam cleats are calibrated for specific widths, typically 8 mm or 9.5 mm. Installing a rope that is even 1 mm too narrow causes dangerous slippage under heavy resistance.
- Failing to Pre-Tension New Polyester Line: While static marine polyester stretches very little, new cord settles slightly after the first few workouts. Re-check and calibrate your rope lengths after your first three sessions.
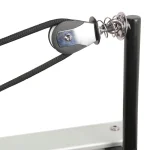
- Incorrect Routing Around the Pulley Sheave: Make sure the rope sits dead center inside the pulley groove. Cross-threading or missing the fairlead eyelet causes rapid friction wear and loud squeaking.
- Skipping the Heat-Seal Step: Unsealed polyester cord unravels quickly under mechanical cycling. Always melt cut ends into a solid, smooth plastic bead before threading.
Cost Breakdown and Long-Term Maintenance Timelines
Replacing your own ropes offers massive cost savings compared to scheduling an on-site equipment technician. A standard professional service call can cost between $150 and $300 in labor alone. Buying the materials yourself drops your expense to a fraction of that figure.
| Replacement Route | Upfront Cost | Lifespan (Home Use) | Lifespan (Studio Use) |
|---|---|---|---|
| Bulk Marine Polyester | $15 to $35 | 3 to 4 years | 12 to 18 months |
| OEM Manufacturer Kit | $45 to $95 | 3 to 5 years | 18 to 24 months |
| Professional Service Tech | $150 to $300+ | Varies by line chosen | Varies by line chosen |
Commercial Pilates studios should conduct rope safety checks every 30 days. Inspect the primary contact points where the line bends over the pulley wheel. Home users should inspect their lines every six months.
Replace your ropes immediately if you notice core exposure, flat spots, or uneven stretch. Proactive replacement protects your equipment, keeps workouts smooth, and prevents accidental drops during loaded exercises.
Frequently Asked Questions About Reformer Rope Replacement
How often should you replace Pilates reformer ropes?
Commercial studios should replace reformer ropes every 12 to 24 months depending on daily class volume. For home users, replacing ropes every two to four years is standard. Always inspect lines sooner if you notice visible fuzzing, core flattening, or slipping in the cleats.
Can I use rock climbing rope on my reformer?
No, you should never use dynamic rock climbing rope on a Pilates reformer. Climbing rope is designed to stretch under dynamic loads to cushion falls. This elasticity ruins reformer calibration and causes instability during balance movements.
Always choose static double-braided polyester line.
How do you make sure both reformer ropes are equal in length?
Attach both strap handles to the rope ends first. Pull the handles forward until they rest against the shoulder rest posts. Pull each tail snugly through the cam cleat until both handles maintain identical tension against the posts.
Test by pulling the carriage slightly back to verify both lines engage simultaneously.
What rope diameter does a Balanced Body or Merrithew reformer use?
Most Balanced Body studio reformers use 8 mm or 9.5 mm (3/8 inch) braided polyester line. Merrithew SPX Max models typically use 8 mm cordage. Check your owner manual or measure the inner track of your cam cleat before ordering bulk line.
Do I need special tools to replace reformer ropes?
No special mechanical tools are required for standard rope replacements. You only need heavy-duty utility shears to cut the cord and a butane lighter to melt the ends. If your reformer uses bottom-mounted anchors, you may occasionally need a small Allen wrench or screwdriver to access the bracket.

Similar Posts