Can You Replace Pilates Reformer Upholstery? Yes & How
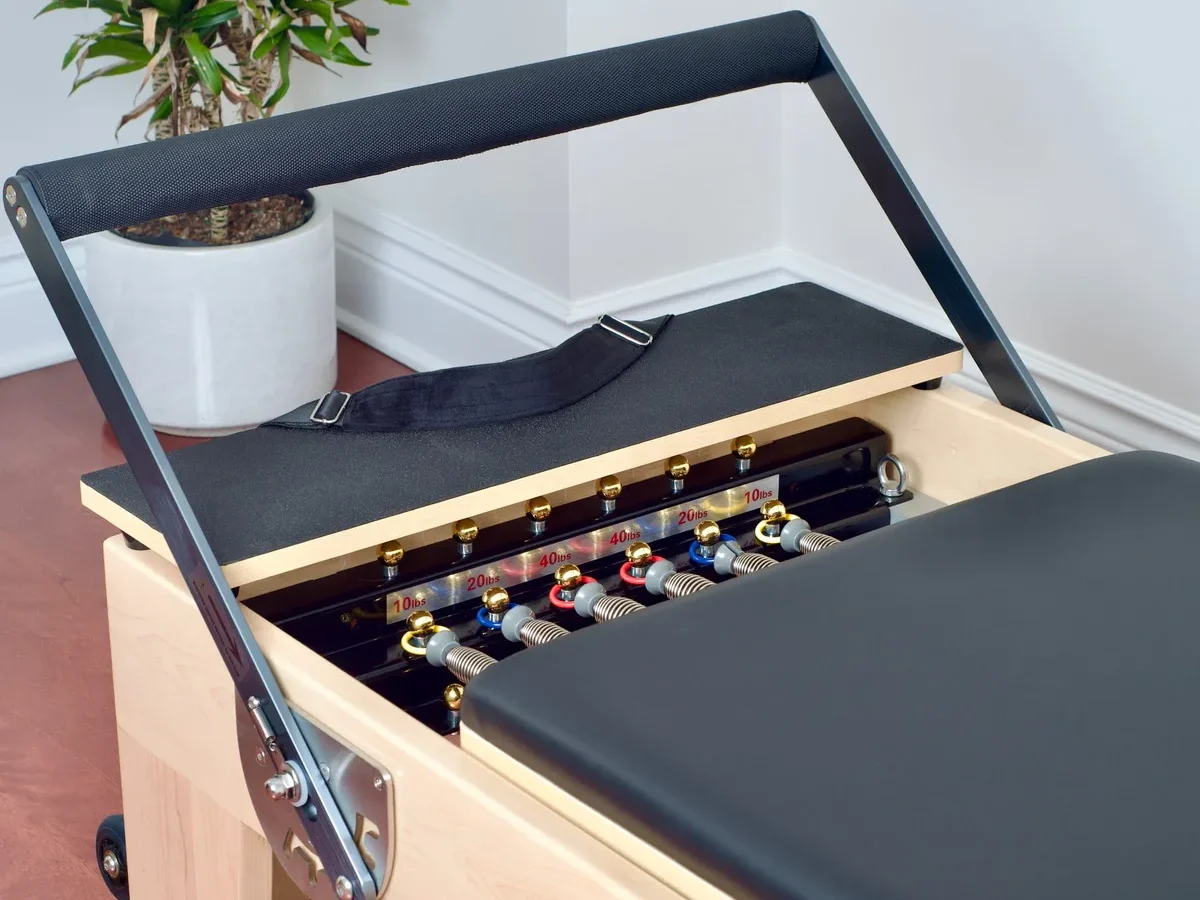
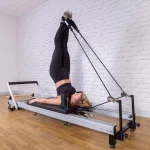
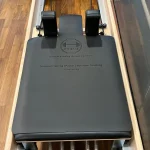
Pilates reformer carriages take heavy wear over time. If your carriage pad shows tears, cracks, or sagging, you might wonder: can pilates reformer upholstery be replaced? The answer is yes.
You do not need to buy a brand-new machine just to fix worn vinyl.
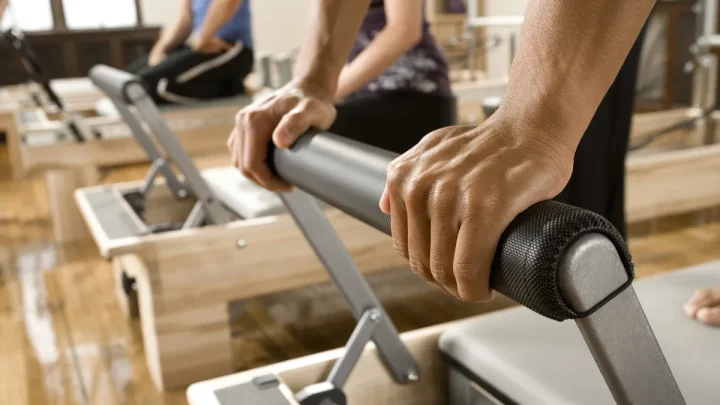
Commercial equipment upholstery routinely endures thousands of friction cycles and daily disinfectant sprays. Replacing the padding restores hygienic safety, essential grip, and proper pelvic support. Here is everything you need to assess, plan, and complete your reformer upholstery replacement.
Quick Answer
Yes, you can replace Pilates reformer upholstery. You can install pre-sewn manufacturer covers. You can also hire a local upholstery shop.
Many owners re-wrap carriages at home using marine vinyl. The whole process takes two to three hours. It saves hundreds of dollars compared to buying new parts.
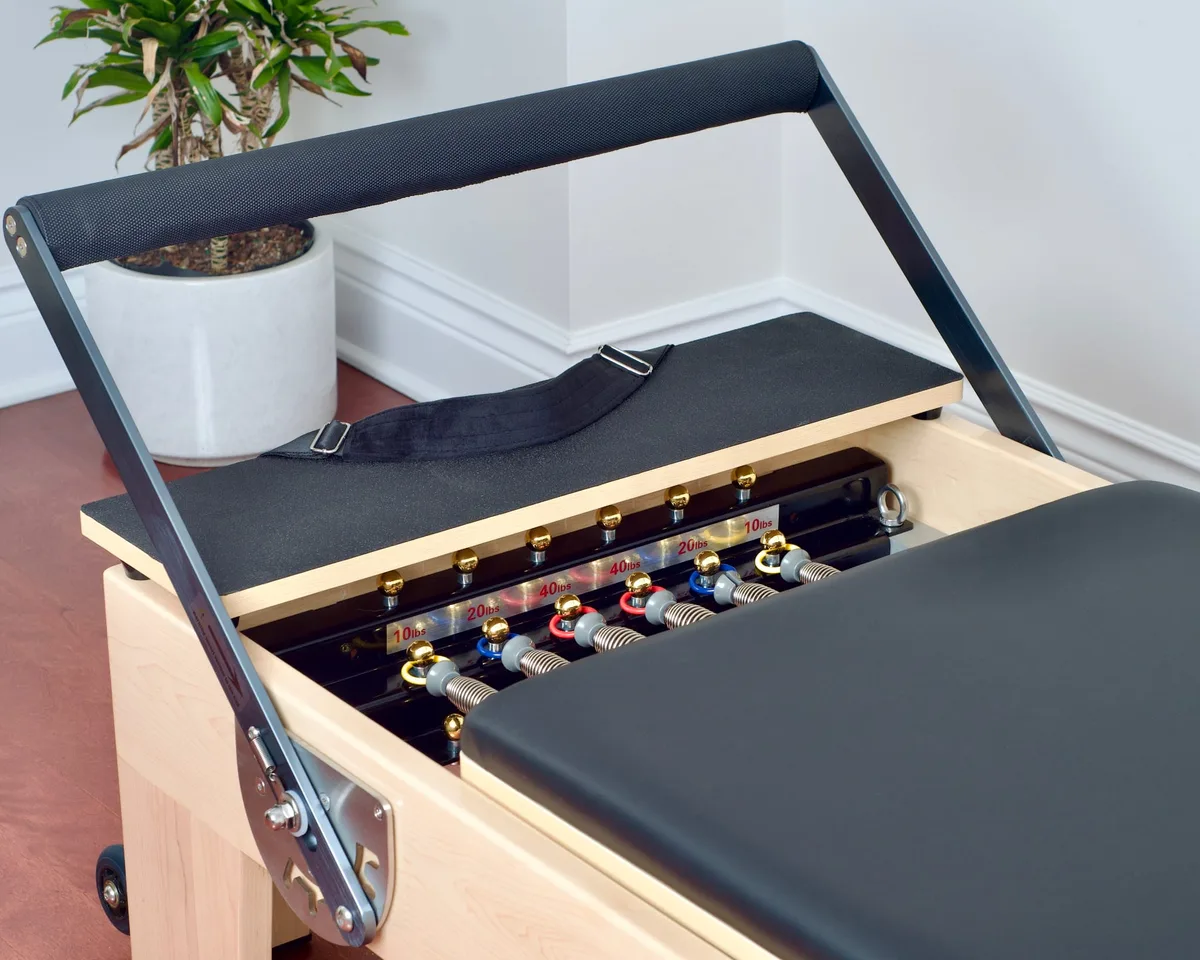
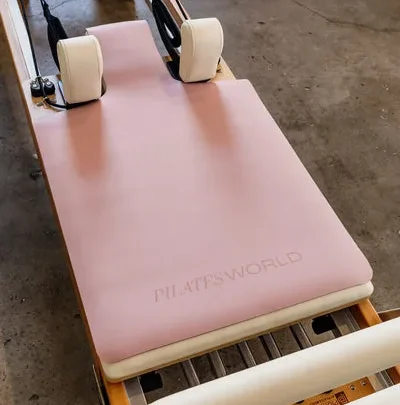
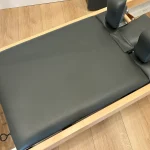
Image source: Bing (Web (fair-use with source credit))
Yes, You Can Replace It (And It’s Easier Than You Think)
Pilates reformers are designed with modular components. The main structural frames, whether made from solid wood or extruded aluminum, often last for decades. Vinyl and foam, however, are wear items that naturally break down over years of use.
Replacing damaged upholstery restores critical traction during footwork, planks, and standing exercises. Smooth, cracked vinyl creates a slipping risk during workouts. Fresh commercial fabric ensures safe, comfortable grip for every movement.
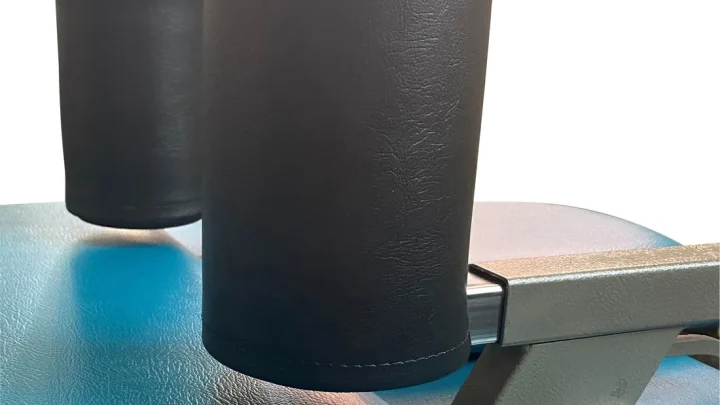
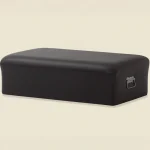
You can replace individual sections or the entire carriage assembly at once. Shoulder rests, headrests, and carriage pads unbolt with basic hand tools. Most reformers require only standard wrenches and a screwdriver to take apart.
Decision Matrix: Assessing Your Reformer's Make, Wear, and Damage
Before you order materials, inspect your reformer to see what needs repair. Not every carriage requires a full rebuild.
Inspecting the Three Layers: Vinyl, Foam, and Substrate Board
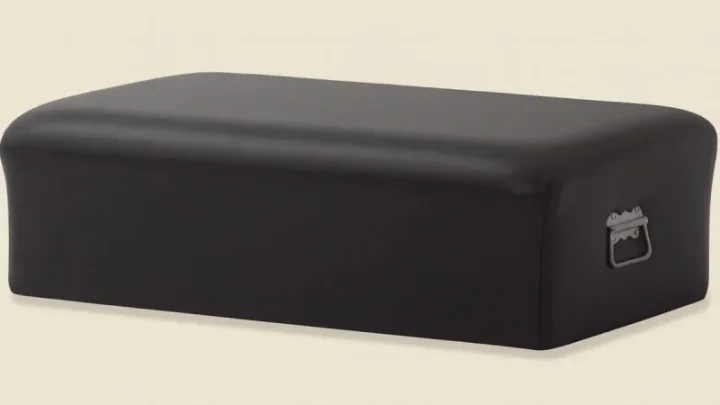
A reformer carriage pad consists of three structural layers:
- The vinyl skin: Look for surface cracking, flaking, or split seams along the edges.
- The foam core: Press firmly into the center of the carriage pad. If your fingers hit the hard board without resistance, the foam has bottomed out.
- The substrate board: Check the underside of the carriage for moisture damage or splintered plywood around mounting bolts.
If the foam springs back instantly and holds its shape, you only need to replace the outer vinyl skin. If the foam stays compressed or feels brittle, you must replace both foam and fabric.
Evaluating Your Specific Reformer Model and Mounting System
Mounting styles vary across manufacturers. Commercial studio machines from makers like Balanced Body or Merrithew use bolt-on assemblies with threaded metal inserts. These allow you to detach pads in minutes.
Older wooden reformers and budget home models often secure vinyl with direct wood screws or heavy perimeter staples. Inspect your carriage underside to see whether your hardware unscrews cleanly or requires staple extraction tools.
Your Three Replacement Paths: OEM Kits, Local Pros, or DIY
You have three practical ways to refresh your reformer padding. Your best route depends on your budget, time, and comfort with tools.
Option 1: Factory-Direct OEM Pad and Skin Replacements
Original Equipment Manufacturer (OEM) kits provide direct factory parts. You order pre-cut vinyl skins or complete bolt-on carriage cushions directly from your equipment maker.
This path guarantees an exact color match and perfect dimensions. It requires zero custom cutting or stapling. However, complete OEM assemblies carry the highest price tag and freight shipping fees.
Option 2: Hiring a Local Marine or Auto Upholsterer
Local upholstery shops handle heavy-duty vinyl daily. Marine and automotive upholsterers have commercial sewing machines and heavy pneumatic tools to wrap complex curves cleanly.
You simply unbolt the carriage, shoulder blocks, and headrest, then drop them off at the shop. This route saves you labor while delivering tight, professional corner seams.
Option 3: Sourcing Materials and Doing a DIY Re-Wrap
A DIY re-wrap gives you complete control at the lowest cost. You purchase commercial vinyl yardage, high-density foam, and upholstery staples.
This method works well for flat carriage beds and simple headrests. You do not need advanced sewing skills if you use clean fold-and-staple techniques underneath the board.
How to Choose the Right Vinyl and Foam (Don't Buy Craft Store Fabric)
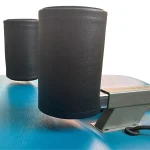
Standard craft fabrics and thin fashion vinyl fail quickly under studio conditions. Reformers require commercial-grade materials engineered for high friction and chemical sanitation.

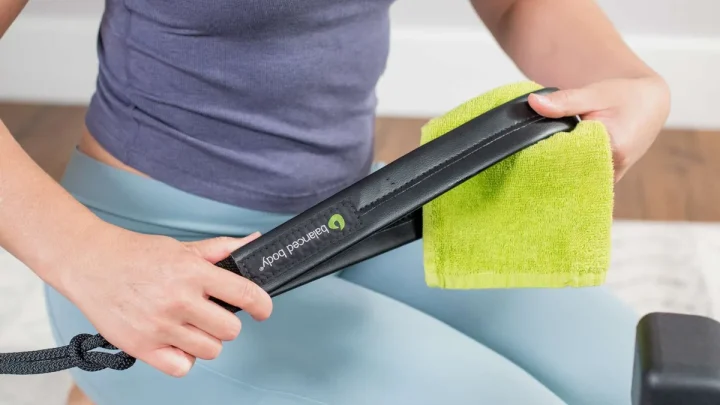
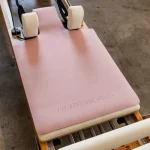
Image source: Bing (Web (fair-use with source credit))
Commercial Vinyl Specs That Survive Daily Studio Use
Always select contract-grade or marine-grade expanded vinyl. Look for these specific ratings:
- Fabric weight: Choose vinyl weighing between 28 oz and 32 oz per linear yard.
- Abrasion rating: Select materials tested to at least 100,000 Wyzenbeek double rubs.
- Chemical resistance: The topcoat must resist alcohol and quaternary ammonium disinfectant wipes.
- Fire safety: Verify compliance with NFPA 260 Class 1 or California Technical Bulletin 117-2013 standards.
As of 2026, premium antimicrobial vinyls feature silver-ion topcoats that stop bacterial growth between workout sessions.
Foam Density and Thickness: Preserving Lumbar and Pelvic Support
Soft craft foam compresses completely under body weight, creating spinal strain during reformer workouts. Reformers require high-density, closed-cell EVA foam or high-resilience bonded foam.
Target a foam thickness between 1 inch and 1.5 inches. Look for an Indentation Load Deflection rating between 45 and 65 pounds. This firmness cushions the sacrum while maintaining stable pelvic alignment.
Step-by-Step Guide: How to Reupholster a Reformer Carriage
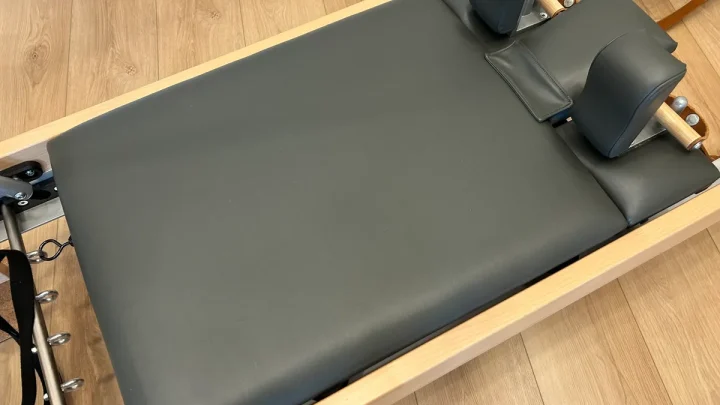
Reupholstering a reformer carriage requires basic tools and systematic execution. Follow these five steps to strip old fabric and install a tight, professional wrap.
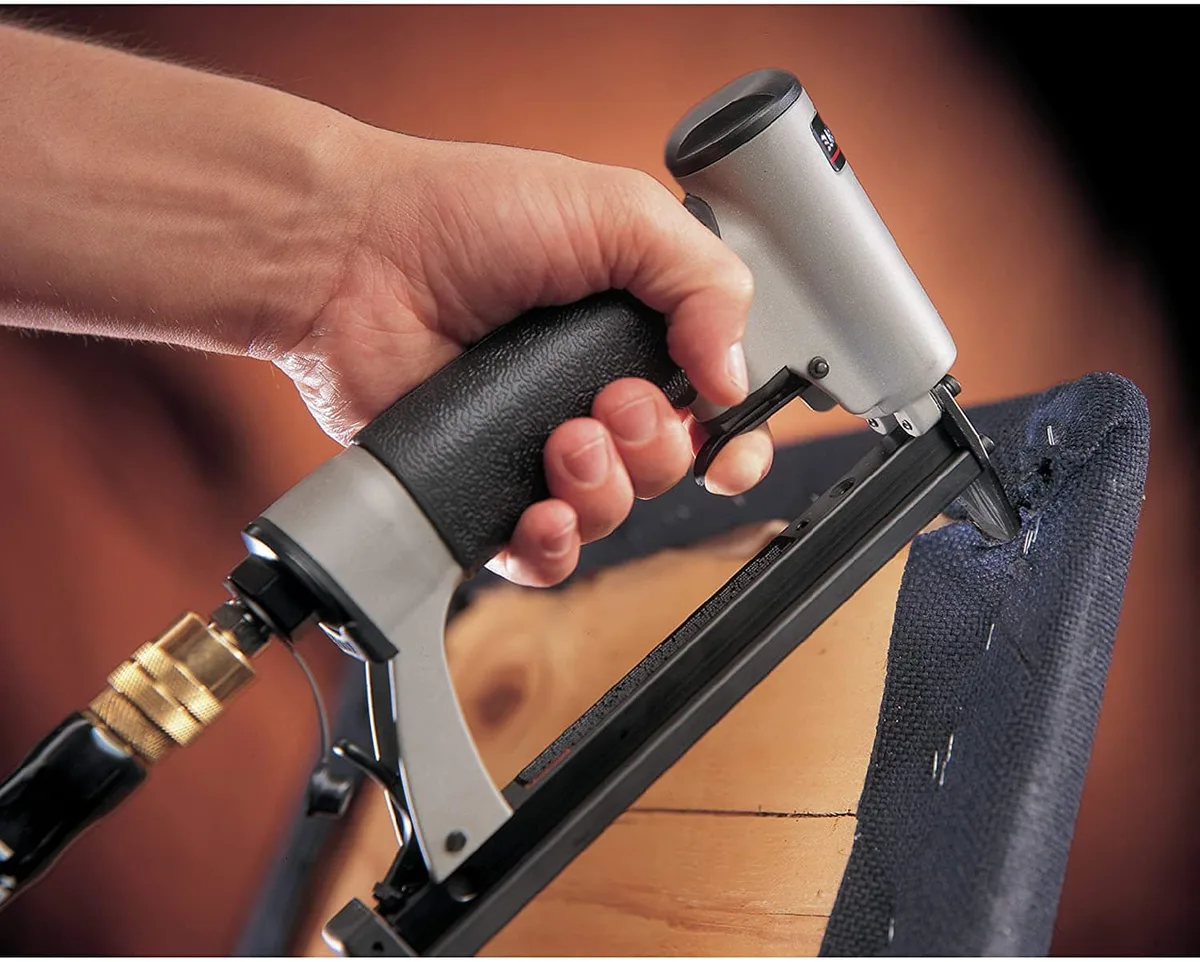
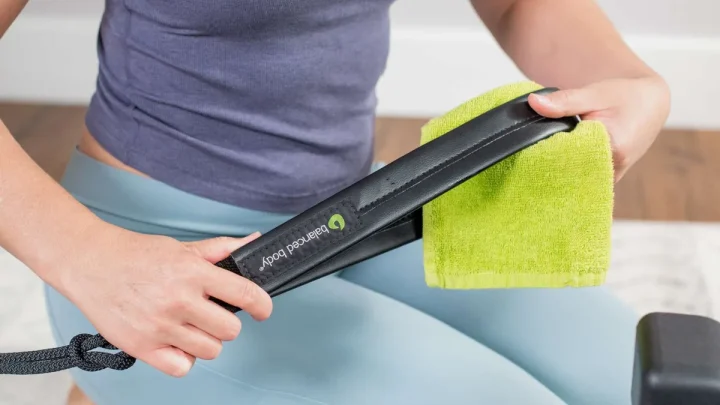
Image source: Bing (Web (fair-use with source credit))
Step 1: Disassembly and Hardware Safety
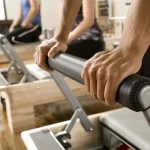
Disconnect all springs from the springbar to immobilize the carriage. Unbolt the shoulder blocks and headrest from underneath the carriage deck using a socket wrench.
Lift the carriage bed off the metal side rails. Place it top-down on a clean workbench padded with a moving blanket. Label all removed bolts and washers in small plastic bags to make reassembly quick.
Step 2: Stripping Old Vinyl and Checking for Dry Rot
Use an upholstery tack puller or narrow flathead screwdriver to pry up perimeter staples. Pull staples cleanly with end-cutting pliers so no metal points break off in the wood.
Remove the old vinyl cover. Inspect the exposed plywood for sweat moisture, mildew, or splintered screw holes. Sand rough edges smooth and allow damp wood to dry completely before installing new materials.
Step 3: Layering Foam and Applying Contact Adhesive
Cut your high-density foam sheet to match the exact dimensions of the carriage deck. Use a serrated utility blade or electric carving knife for clean, vertical edge cuts.
Apply a medium coat of high-strength spray adhesive to both the wood deck and the bottom of the foam. Wait two minutes for the glue to turn tacky. Press the foam firmly onto the wood, smoothing from the center outward to prevent air pockets.
Step 4: The Pull-and-Staple Tension Sequence for Tight Corners
Lay your marine vinyl face down and center the carriage pad foam-side down on top of it. Leave at least three inches of excess vinyl around all four sides.
Use a pneumatic or heavy-duty manual staple gun with 3/8-inch, 20-gauge stainless steel staples. Follow this specific sequence:
- Place three staples in the center of one long side underneath the board.
- Pull the opposite side firmly and place three staples in the center.
- Repeat this cross-tension pull on both short ends to create equal balance.
- Work from the center outward toward each corner, smoothing out wrinkles as you go.
- Fold corners using neat hospital corner folds, pulling the point flat before securing it with three tight staples.
Step 5: Reattaching Hardware and Rail Clearance Checks
Trim all excess vinyl half an inch past your staple line. Use an awl to pierce pilot holes through the new vinyl where the shoulder rest bolts pass through the board.
Lower the carriage back onto the aluminum frame rails. Spin the carriage wheels by hand to confirm that no staples or folded vinyl edges rub against the tracking channels. Bolt the shoulder blocks and headrest back into place, tightening all hardware securely.
Cost Breakdown: OEM Parts vs. Professional Service vs. DIY
The price of refreshing your reformer depends on whether you value speed, budget savings, or factory convenience. Here is how the three main replacement methods compare:
| Replacement Method | Typical Cost (Per Machine) | Turnaround Time | Skill Level Required |
|---|---|---|---|
| OEM Factory Assembly | $300 to $750+ | 1 to 3 weeks (shipping) | Beginner (basic wrench work) |
| Local Marine / Auto Shop | $150 to $350 | 2 to 5 days | None (drop-off service) |
| DIY Custom Re-Wrap | $45 to $90 | 2 to 3 hours | Intermediate (staple work) |
For studio owners managing ten or more machines, the DIY approach can save thousands of dollars in commercial maintenance costs. For home users with vintage equipment, local upholstery shops provide a custom fit without shipping delays.
Common Reupholstery Mistakes That Ruin Reformer Performance
Small errors during the re-wrapping process can create major functional issues during exercise. Watch out for these common missteps:
- Using standard steel staples: Sweat salts quickly corrode non-rated metal. Always use stainless steel or galvanized marine staples.
- Over-stretching thin vinyl: Pulling vinyl too tight thins the protective topcoat. This causes premature surface cracking along perimeter edges.
- Ignoring carriage rail clearance: Bulky folds on carriage corners can drag against aluminum rails. This causes sticking and uneven carriage glide during spring work.
- Choosing soft open-cell foam: Low-density craft foam flattens under body weight. Clients will feel the hard plywood board during seated or supine footwork.
- Blocking bolt holes: Covering mounting holes without marking them forces you to search blindly for threaded inserts during reassembly.
Frequently Asked Questions About Reformer Upholstery Repair
How long does it take to reupholster a Pilates reformer?
A standard DIY carriage re-wrap takes two to three hours from start to finish. Disassembling the carriage and removing old staples takes about one hour. Foam gluing and tension stapling take roughly 90 minutes.
Can I reupholster the shoulder rests and headrest myself?
Yes, but contoured shoulder blocks require extra care. They have tight curves that demand careful fabric stretching and darting. If your shoulder rests have sewn perimeter piping, taking them to a local upholsterer ensures clean seam lines.
What kind of staples should I use on a reformer carriage?
Use 20-gauge or 22-gauge stainless steel upholstery staples with a 3/8-inch leg length. Stainless steel resists rust from sweat and cleaning sprays. The 3/8-inch length grips Baltic birch plywood firmly without poking through the top surface.
How often should Pilates studio reformer upholstery be replaced?
High-traffic commercial studios typically replace reformer vinyl every three to five years. In private home settings with regular wipe-downs, commercial-grade vinyl often lasts ten to twelve years before showing visible wear.
Will replacing the upholstery void my equipment warranty?
Replacing worn fabric does not void structural frame warranties on commercial reformers. However, factory warranties generally exclude cosmetic wear items like foam and vinyl once normal service periods expire. Check your manufacturer guidelines for specific terms.

Similar Posts