How to Replace Reformer Carriage Padding: Step-by-Step
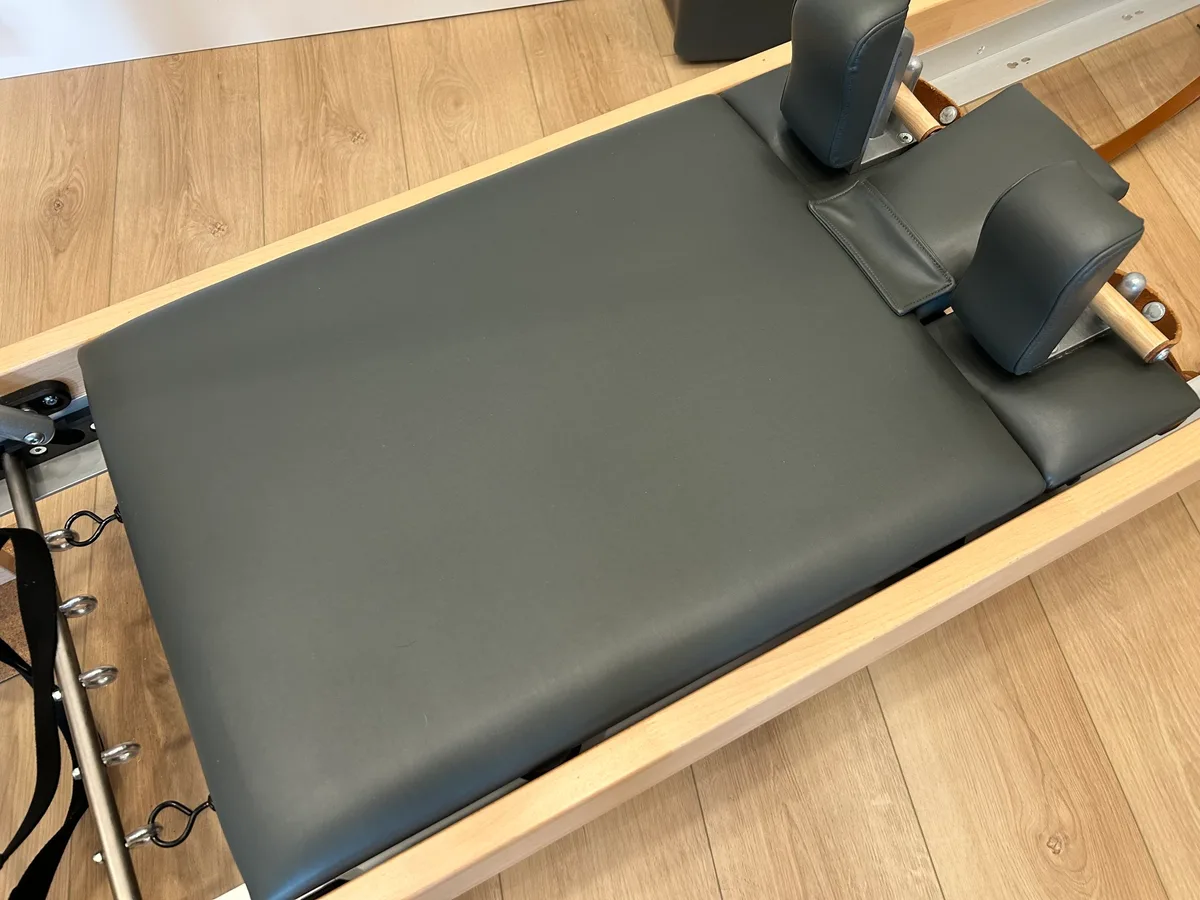
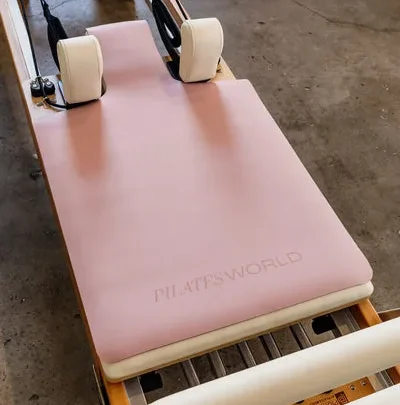
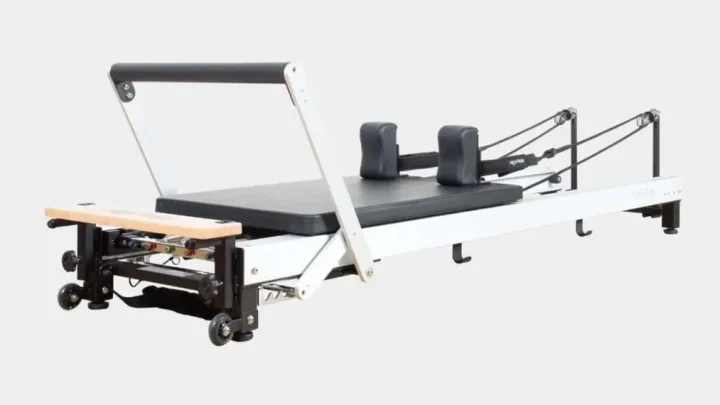
A worn Pilates reformer carriage ruins your workout comfort and compromises joint support. Learning how to replace reformer carriage padding restores firm alignment and protects your studio equipment from rail wear. Over time, heavy spring tension and daily sweat break down both the vinyl cover and the core foam.
Reupholstering the carriage bed yourself saves money and brings back smooth, factory-level performance.
Commercial equipment standards recommend replacing carriage foam every three to five years under regular studio use. As of 2026, premium commercial decks rely on high-density bonded rebond foam with a 45 to 70-pound Indentation Force Deflection (IFD) rating. Knowing what materials to buy and how to wrap the corners cleanly ensures your reformer glides smoothly without catching the frame.
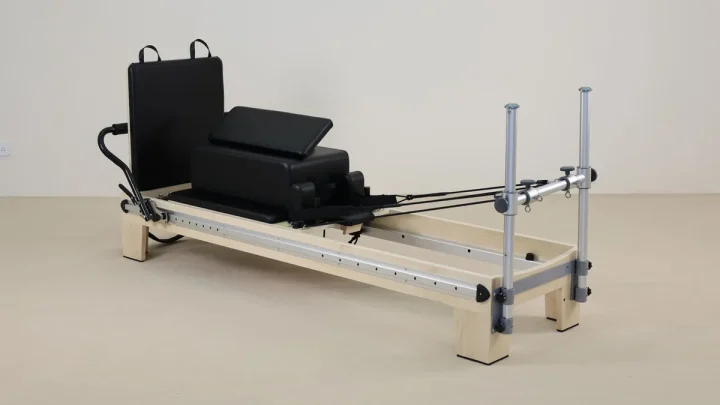
Image source: Bing (Web (fair-use with source credit))
Quick Answer
Learn how to replace reformer carriage padding with a few straightforward steps. First, remove the carriage bed and pull out old staples. Next, glue high-density rebond foam to the wooden deck.
Stretch marine vinyl tightly from the center outward. Fasten the vinyl edges with heavy-duty stainless steel staples. Fold neat hospital corners to avoid rail rubbing.
Finally, reinstall the hardware and remount your carriage.
When to Re-Pad Your Reformer Carriage (Visual & Physical Signs)
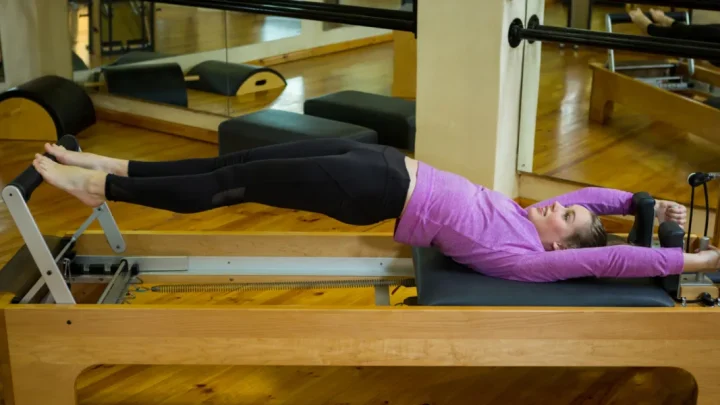
Reformer padding breaks down long before the vinyl splits open. In our research across commercial fitness studios, foam fatigue happens quietly underneath the upholstery. When the foam collapses, your tailbone and lower back press directly against the rigid plywood base during exercises like the Hundred or Short Box series.
Watch for these primary visual and physical warning signs:
- Surface dimples: Permanent indentations where knees or hips sit that do not spring back after 15 minutes.
- Hardening vinyl: Material that feels brittle, slick, or chalky from repeated contact with sweat and disinfectant sprays.
- Seam separation: Vinyl pulling away from corner staples, exposing the underlying foam to moisture.
- Rail friction: Sagging upholstery edges or loose fabric bunching underneath and rubbing against the C-channel rails.
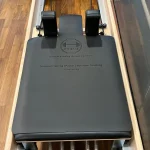
If you press your thumb firmly into the middle of the carriage bed and feel the hard wooden deck beneath, the core has bottomed out. Continuing to use depleted padding causes joint discomfort and compromises pelvic stability during heavy spring loads. Replacing the foam restores the level, supportive foundation required for safe Pilates movement.
Materials, Foam Specs, and Essential Tools Checklist
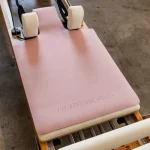
Using the right materials determines how long your new upholstery lasts. Standard couch foam is far too soft for a Pilates carriage bed. Reformers require high-density reconstituted composite foam (rebond foam) paired with commercial marine-grade vinyl to handle continuous body pressure.
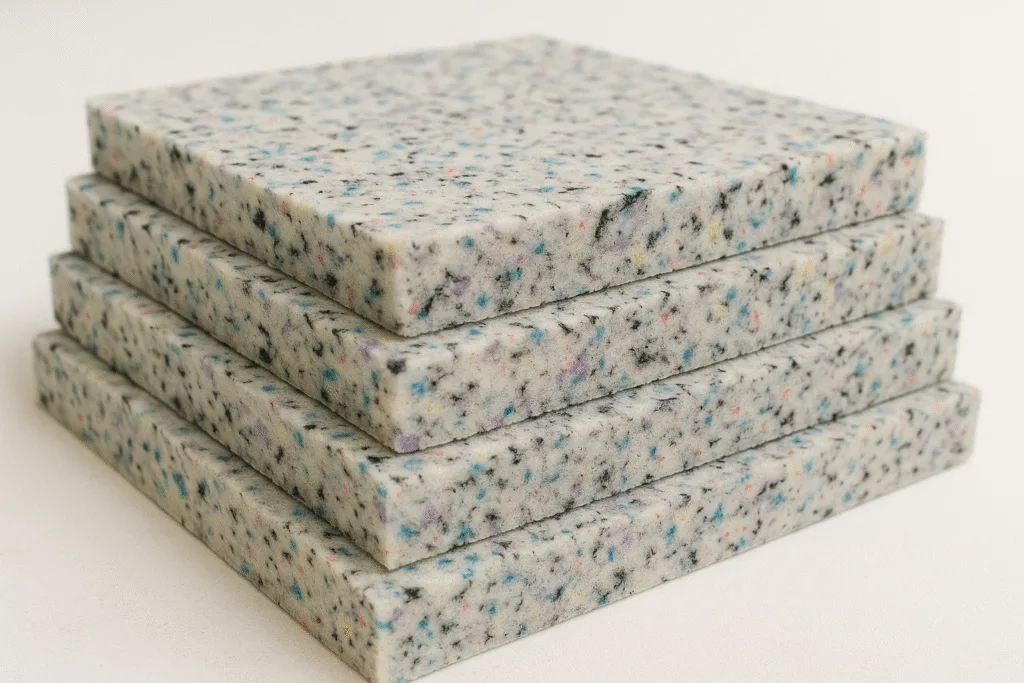
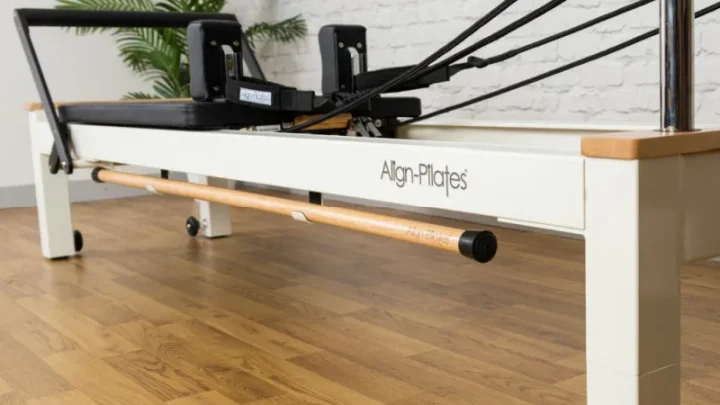
Image source: Bing (Web (fair-use with source credit))
According to flammability and upholstery safety standards from the National Fire Protection Association, commercial studio equipment should use fire-rated materials like California TB 117-2013 compliant padding.
| Item | Specification / Type | Purpose |
|---|---|---|
| Core Foam | 1.0 to 1.25-inch Rebond Foam (6 lb/cu. ft. density) | Provides firm foundation and prevents bottoming out |
| Base Layer (Optional) | 1/4-inch Closed-Cell EVA Foam | Adds firm base support on solid plywood decks |
| Upholstery Vinyl | 28–32 oz Marine-Grade Vinyl (100k+ double rubs) | Resists moisture, body oil, and cleaning chemicals |
| Fasteners | 3/8-inch (10mm) Stainless Steel or Monel Staples | Resists rust from sweat and stays flush in the deck |
| Adhesive | High-Tack Spray Upholstery Adhesive | Prevents foam from sliding during the wrapping process |
| Staple Gun | 20-Gauge Pneumatic or Heavy-Duty Manual Stapler | Delivers flush staple penetration into dense marine ply |
| Hand Tools | Staple lifter, tack puller, and utility knife | Strips old staples and trims excess vinyl cleanly |
Do not use genuine leather or standard residential vinyl. Marine vinyl features an antimicrobial knit backing that flexes across corners without tearing, making it the industry standard for fitness equipment.
Step-by-Step Guide: Stripping and Prepping the Carriage Deck
Preparation takes more patience than the actual wrapping. Start by unhooking all carriage springs from the gear bar and rolling the carriage to the footbar end. Remove the carriage stops, unscrew the shoulder blocks, and detach the headrest bracket using a standard hex key or screwdriver.
Lift the padded wooden bed plate off the metal rolling sub-frame. Lay the deck upside down on a clean, padded workbench to protect the finish. Use a curved staple lifter or tack puller to pry up every old staple around the perimeter.
Pull each staple straight out with needle-nose pliers so you do not leave broken metal prongs behind.
Once the old vinyl and foam are removed, inspect the bare plywood deck. Check for soft spots, water damage, or splintered edges. Locate the blind threaded T-nuts embedded inside the wood for the shoulder rests and headrest hardware.
Make sure all T-nuts remain seated firmly in their holes before you apply new padding.
Step-by-Step Guide: Cutting, Bonding, and Wrapping New Foam and Vinyl
Place your bare carriage board directly on top of the new rebond foam sheet. Trace the exact perimeter with a silver marker, keeping the line tight against the wood. Cut the foam along your line using an electric carving knife or a fresh utility knife blade held at a 90-degree angle.
Spray a light, even coat of high-tack upholstery adhesive onto both the wooden deck and the bottom of the foam. Wait 60 seconds until the glue feels tacky rather than wet. Carefully align the foam slab with the edges of the board and press down firmly from the center outward to eliminate air pockets.
Lay your marine vinyl face down on your work table. Place the foam-topped board face down on the center of the vinyl, leaving at least 3 inches of excess material on all four sides.
Follow a compass pattern to secure the vinyl:
- Pull the vinyl taut at the center of the top edge and fire three staples into the underside of the wood.
- Move to the center of the bottom edge, pull firmly against the top tension, and set three staples.
- Move to the center of the left side, stretch the fabric, and staple.
- Pull the right side tight and staple the center.
- Work outward toward the corners from each center point, placing staples roughly 3/4-inch apart.
Keep your pulling pressure even across the entire surface. If you pull too hard in one direction, the foam edge will roll over the side of the board and create an uneven riding surface.
Getting the Tension and Corners Right: Avoiding Rail Drag and Lumps
The corners of a reformer carriage require precise folding. If your corner folds are too bulky, the padded carriage will scrape against the aluminum C-channel rails of your reformer frame during use. A modified hospital corner creates the flattest profile underneath the deck.
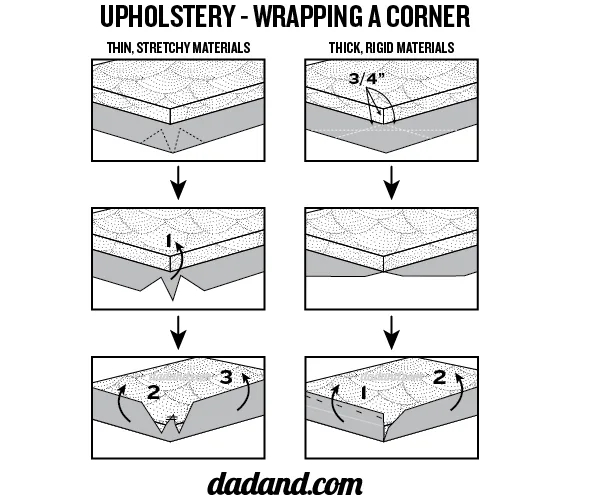
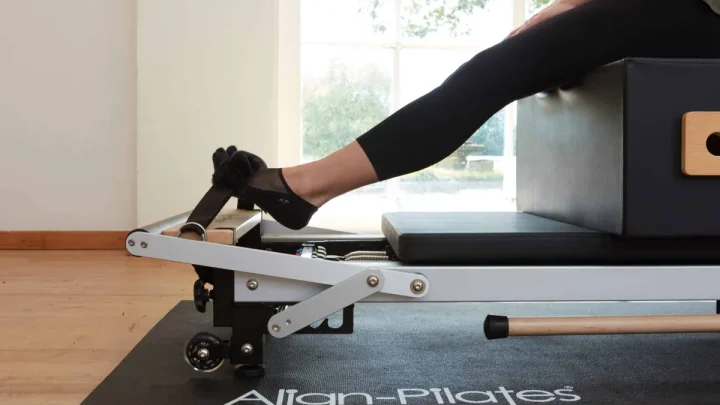
Image source: Bing (Web (fair-use with source credit))
To fold a clean corner, pull the pointed tip of the vinyl corner straight over the corner of the wood deck at a 45-degree angle. Secure that center point with two staples driven close together.
Next, fold the remaining side flap cleanly over the top of the center fold, keeping the outer edge smooth and flush with the board corner. Staple the flap down securely. Trim away the bulky triangular wedge of excess vinyl underneath the fold using upholstery shears, but stay at least 1/4-inch away from your staple line.
Check your staple depth across the entire board bottom. Every staple crown must sit completely flush against the plywood. If any staple head sticks out, tap it flat with a small tack hammer to prevent it from gouging your hands or snagging equipment cables later.
Post-Install Reassembly, Hardware Alignment, and Safety Checks
Locating the mounting holes through fresh vinyl requires a gentle touch. Feel across the top surface of the newly wrapped deck with your fingertips to find the recessed openings for your shoulder rest posts and headrest brackets.
Use an awl or a leather hole punch to pierce a small, round opening directly over each threaded hole. Do not cut large X-shaped slits with a utility knife. Slits can tear and run across the vinyl face once you tighten the mounting bolts.
Thread your shoulder rest bolts in by hand first to make sure they engage cleanly with the internal T-nuts. Cross-threading these fasteners will strip the blind nuts inside the wood, forcing you to pull staples and strip the board again. Once all bolts thread smoothly, tighten them firmly with a hand wrench.
Place the carriage assembly back onto the metal frame and wheel tracks. Reinstall the carriage stops, hook up your springs, and roll the carriage manually along the full length of the rails.
Check for these mechanical clearances:
- Rail gap: Ensure there is at least a 1/8-inch gap between the padded vinyl edges and the metal frame rails.
- Wheel clearance: Confirm no loose vinyl flaps hang underneath where they could touch the rolling wheel bearings.
- Headrest motion: Verify that the headrest hinges articulate smoothly into flat, half-raised, and fully raised positions without binding against the carriage foam.
Frequently Asked Questions About Reformer Padding Replacement
Can you put new vinyl directly over old padding?
No, you should never place new vinyl directly over worn padding. Old foam breaks down chemically and loses its supportive cell structure. Wrapping fresh vinyl over collapsed foam traps odor, provides poor spine support, and causes premature vinyl tearing.
How long does it take to replace carriage padding?
A full carriage padding replacement takes about 90 to 120 minutes. Stripping old staples usually takes 30 to 45 minutes, while cutting foam, gluing, wrapping vinyl, and re-attaching hardware takes roughly one hour.
What staple size is best for reformer decks?
The best fastener size is a 20-gauge staple with a 3/8-inch leg length and a 1/2-inch crown. This size holds marine vinyl securely without punching through the top of standard 3/4-inch plywood carriage decks.
How do you clean new reformer vinyl to make it last?
Clean your new vinyl using a mild solution of dish soap and warm water, followed by a dry microfiber towel. Avoid bleach, alcohol-based wipes, or harsh chemical sprays, which dry out the vinyl and cause early cracking.

Similar Posts