How to Diagnose and Fix Uneven Carriage Resistance
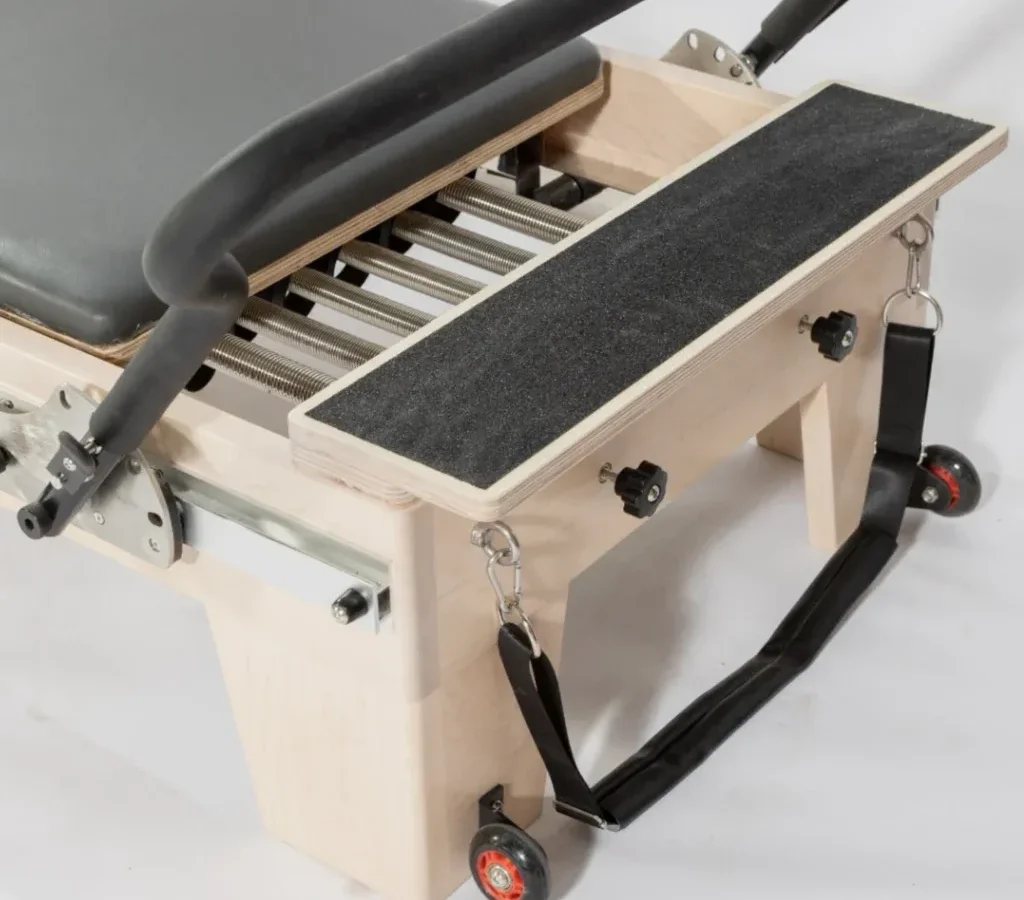
A sticky reformer carriage ruins your workout flow and causes muscular compensation. Learning how to diagnose uneven carriage resistance helps you pinpoint whether the drag comes from dirty rails, worn wheel bearings, or asymmetrical springs. Catching the issue early protects your frame and keeps every movement smooth.
Equipment maintenance standards such as ASTM International F3105 outline structural guidelines for commercial and home reformers. As of 2026, routine inspection of guide channels and axle tolerances remains the standard way to prevent track gouging. Let us look at why this uneven pull happens and where you should look first.
Quick Answer
To diagnose uneven carriage resistance, first unhook all springs and straps. Push the bare carriage along the aluminum rails. Listen for gritty bearing friction or wheel rubbing.
Inspect the lateral guide wheels for tight contact. Check both rope lengths and spring coil tension for matching resistance.
Why Your Reformer Carriage Feels Uneven (And Where to Look First)
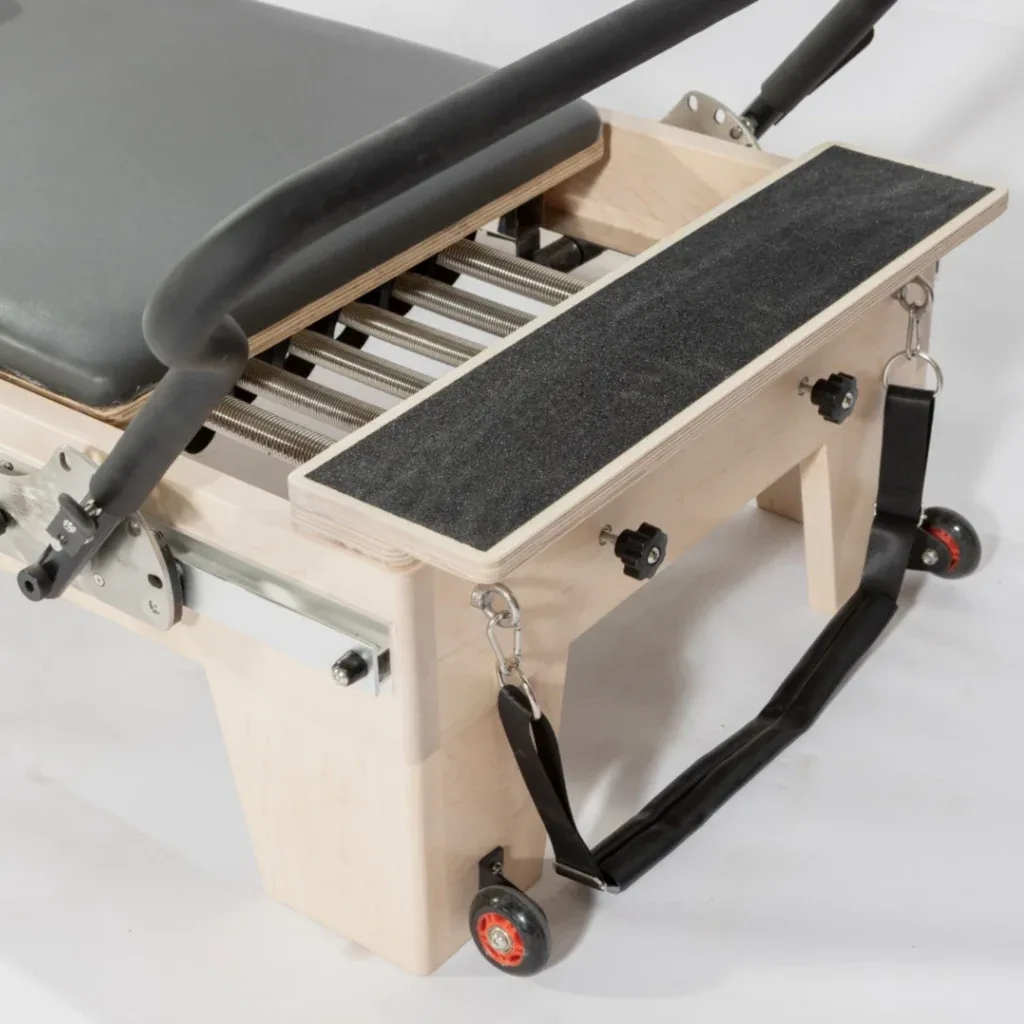
Image source: Bing (Web (fair-use with source credit))
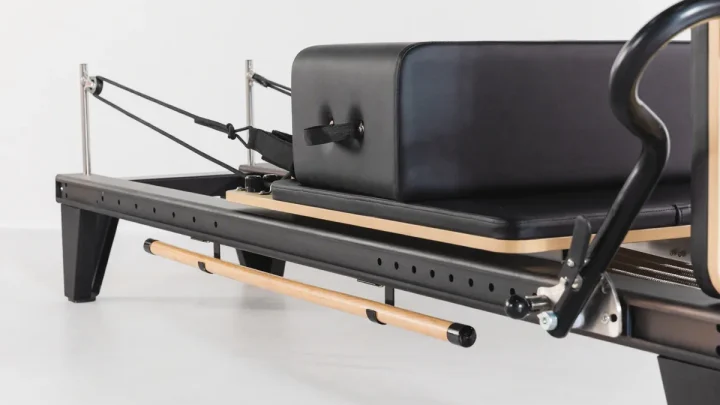
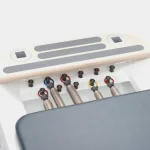
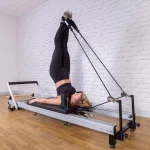
Uneven resistance rarely happens by chance. A Pilates reformer relies on four mechanical contact zones to create a frictionless glide. When one of these zones falters, the carriage pulls crooked or drags.
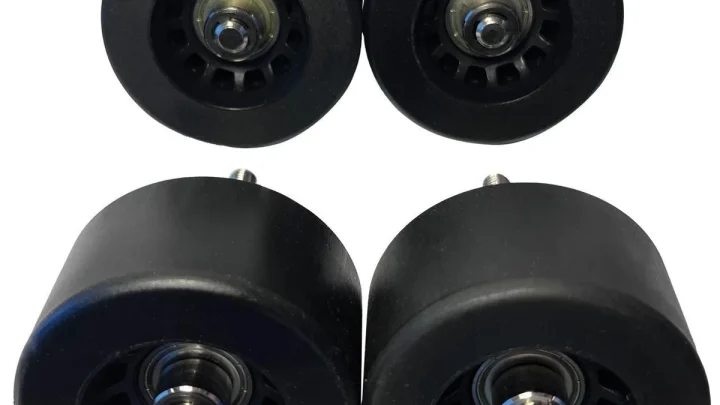
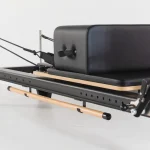
The first zone involves the vertical polyurethane load wheels and the horizontal side-tracking wheels. These wheels roll along anodized aluminum C-channel rails. If dirt settles into the track or a wheel bearing binds, the carriage loses its floating feel.
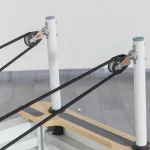
The second zone consists of the rope and pulley assembly. If one rope is slightly shorter than the other, your shoulders pull at an angle. That uneven angle forces the carriage deck to twist against the side rails.
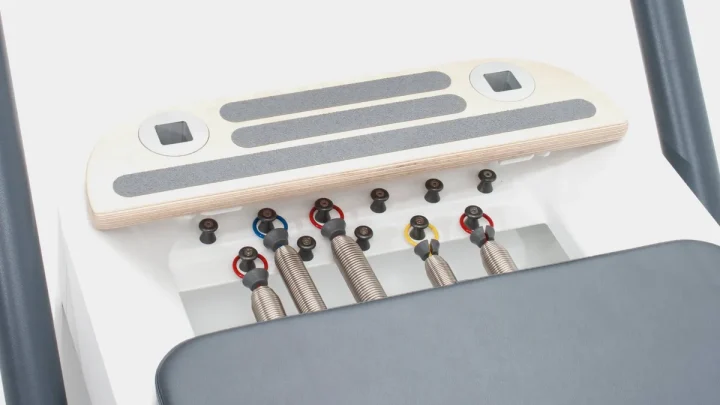
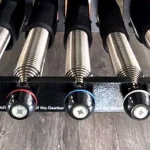
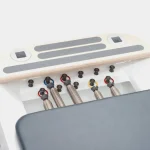
The third zone is the reformer spring package. Springs lose tension at different rates over time. A fatigued center spring combined with a newer outer spring creates asymmetrical recoil force during exercises.
The Isolation Rule: Setting Up Your Diagnostic Baseline
Never attempt to diagnose drag while the reformer is fully assembled and loaded. You cannot isolate mechanical drag if springs and ropes apply tension at the same time. You need a clean diagnostic baseline.
Begin by unhooking every spring from the gearbar. Let the springs hang completely free in the spring well. Next, remove both ropes or leather straps from the carriage cleats and let them rest on the floor.
Your carriage is now entirely free-floating. Give the deck a light push from the footbar end toward the risers.
If the unstrung carriage glides to the end stop without stopping, your rolling gear is healthy. In that scenario, the drag exists in your ropes or spring pack. If the carriage binds or stops short on its own, the issue is strictly inside the wheels or rails.
The Diagnostic Workflow: Identifying the Exact Point of Drag
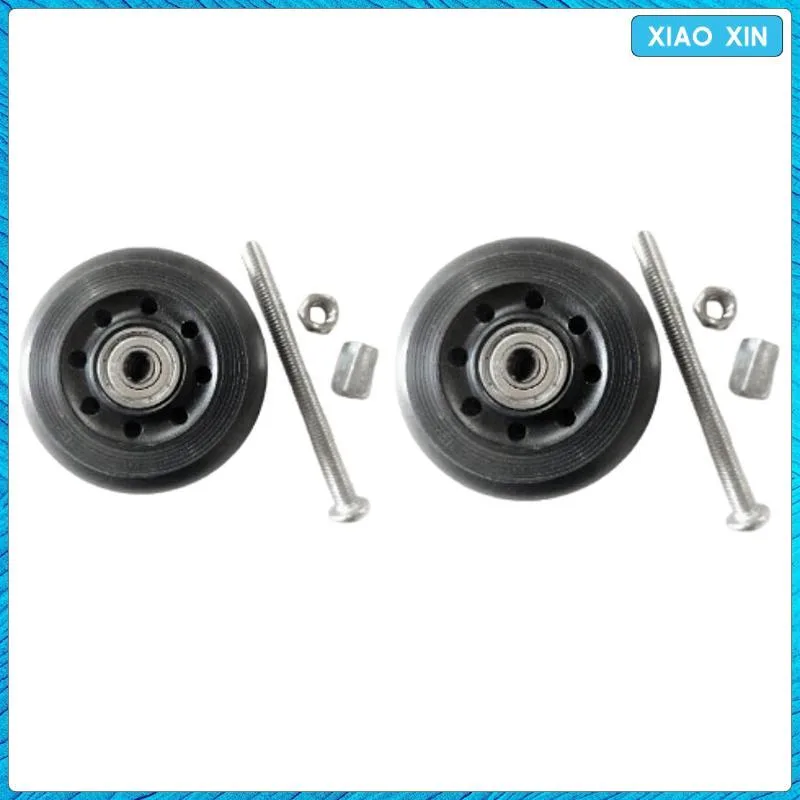
Image source: Bing (Web (fair-use with source credit))
Follow this systematic step-by-step workflow to trace the exact source of friction.
Step 1: The Free-Roll Test (Checking Load Wheels and Bearings)
Push the bare carriage along the frame with one hand. Listen closely as it rolls down the track.
A healthy carriage produces a quiet, continuous whir. If you hear a rhythmic clicking or feel a distinct bump, you have a flat-spotted load wheel. Flat spots happen when a reformer sits unused under heavy spring tension for long periods.
Reach underneath the carriage and spin each vertical load wheel individually. The wheels should spin freely on their sealed ABEC bearings. If a wheel resists turning or feels gritty, hair or lint has likely worked into the bearing race.
Step 2: The Lateral Tracking Check (Guide Wheels and Rail Alignment)
Look directly down into the rail channels while sliding the carriage slowly. Watch the small horizontal guide wheels that control side-to-side play.
These guide wheels should sit within 1 to 2 millimeters of the inner rail wall. They should roll smoothly without binding tightly against the metal channel.
If the guide wheels press hard against one rail wall, the carriage will pinch. This binding often occurs if an axle bolt has loosened or if the wooden frame has shifted slightly out of square.
Step 3: The Pulley and Rope Symmetry Test
Reattach your ropes and pull both handles to the front edge of the carriage. Hold the handles together right above the headrest.
Check whether the stitch lines or loop ends match perfectly. A difference as small as 0.25 inches (6 mm) forces your torso to twist during bilateral exercises. That twist drives the carriage sideways into the rail.
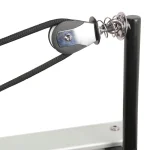
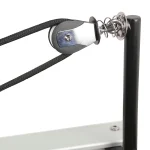
Next, spin the swivel pulleys at the riser posts by hand. Ensure each pulley wheel turns freely on its axle without squeaking or wobbling.
Step 4: The Spring Tension and Fatigue Assessment
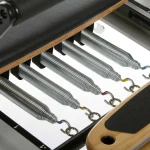
Hook a single spring onto the gearbar and pull the carriage back 12 inches. Release it slowly and feel the resistance curve. Repeat this check for every spring individually.
Look closely at the coils of each spring at rest. The coils should sit tightly closed against each other.
If you see visible gaps between coils on one spring, that spring has lost its tensile elasticity. A fatigued spring delivers weaker resistance on the press and sluggish recoil on the return.
Quick-Glance Diagnostic Matrix: Symptom to Fix
Use this quick-reference table to match what you feel on the carriage to the correct mechanical fix.
| Observable Symptom | Likely Mechanical Cause | Primary Diagnostic Step |
|---|---|---|
| Carriage bumps or thumps rhythmically | Flat spot on polyurethane load wheel | Spin wheels by hand to find the flat edge |
| Drag happens only with ropes attached | Unequal rope length or sticky riser pulley | Measure handle ends side by side |
| Carriage pulls sideways during footwork | Binding horizontal guide wheel | Inspect rail clearance gap along the track |
| Sluggish return stroke on specific spring settings | Fatigued spring coil with lost tension | Check spring coil spacing at rest |
| Scratching or scraping sound along rails | Metal debris or hair embedded in wheel tread | Wipe tracks with a clean microfiber cloth |
| High friction across the entire track length | Axle retention bolts over-torqued | Loosen axle nuts by one-quarter turn |
Mechanical Calibration: Step-by-Step Fixes for Common Drag Points
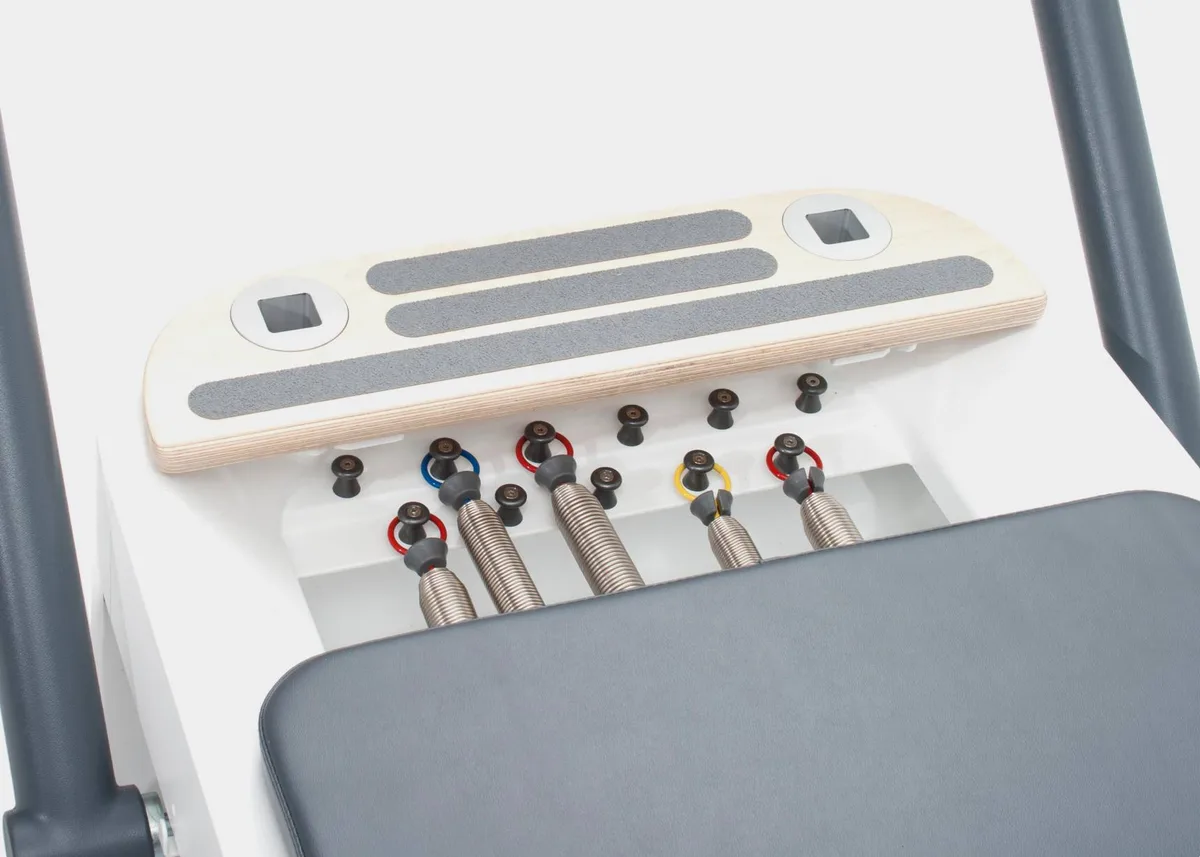
Image source: Web (Bing) / pilates.com (Web image (fair-use with source credit))
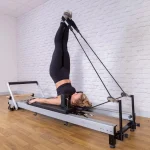
Once you locate the mechanical bottleneck, apply the correct calibration fix. Most adjustments require simple hand tools like an Allen key and an open-end wrench.
Reseating and Adjusting Side-Tracking Guide Wheels
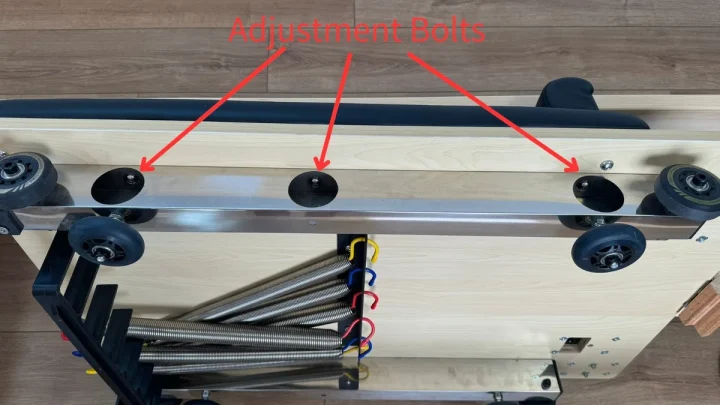
Loosen the top retention bolt on the binding guide wheel by half a turn. Slide a standard business card between the wheel tread and the aluminum rail wall.
Press the guide bracket gently toward the rail and tighten the retention bolt. Remove the card. This process leaves an ideal gap of roughly 0.5 millimeters, stopping carriage chatter while preventing friction.
Removing Baked-In Debris and Cleaning Aluminum Rails
Wipe down both C-channels with a clean microfiber towel soaked in 70 percent isopropyl alcohol. Rub firmly along the entire length of the tracking surface to lift black residue.
Never spray wet oil or standard grease onto your rails. Wet lubricants collect hair and clothing fibers, turning into an abrasive paste that ruins wheel surfaces.
Truing Rope Lengths and Riser Pulleys
Pull both rope handles together to the center of the carriage deck. Adjust the ropes inside the cam cleats until both handles align within one-eighth of an inch.
Inspect the pulley swivel housings at the risers. If a pulley squeaks or catches, apply a single drop of dry silicone or dry Teflon lubricant to the swivel pin.
Matching and Swapping Asymmetrical Springs
Springs stretch unevenly if clients consistently use one side of the gearbar. You can temporarily balance resistance by swapping the outer left and outer right springs.
If any spring shows visible light between its coils when unweighted, replace it immediately. Manufacturer specifications from leading brands recommend replacing full spring packages together to maintain uniform load curves.
Common Diagnostic Mistakes That Cause Extra Friction
The most common diagnostic mistake is spraying lubricant on the tracks before isolating the problem. Liquid oils instantly attract dust, which bakes onto the polyurethane wheels and creates permanent flat spots.
Another frequent error is over-tightening wheel axle bolts during reassembly. Over-torquing the axle compresses the internal bearing races, causing the wheel to drag under body weight.
Studio owners also often replace springs when the actual culprit is a loose riser pulley. Always run the free-roll isolation test before spending money on replacement hardware.
Frequently Asked Questions About Carriage Drag
Why does my reformer carriage squeak when rolling?
Carriage squeaks usually point to dry riser pulley bearings or horizontal guide wheels rubbing the frame. Clean the aluminum tracks with rubbing alcohol first. If the noise persists, check that each side guide wheel has slight clearance from the rail wall.
How often should reformer springs be replaced?
Commercial studios should replace reformer springs every two years or after roughly 3,000 hours of class use. Home reformers generally need spring replacement every three to five years. Replace any spring immediately if coils stay separated at rest.
Can you use WD-40 on reformer tracks?
Never use standard WD-40 or penetrating oils on aluminum tracks. Wet oils attract dirt, hair, and dust, forming a sticky sludge that degrades polyurethane wheels. Clean the tracks with a dry cloth or 70 percent rubbing alcohol instead.
How do you know if a carriage wheel bearing is failing?
A failing bearing feels gritty, stiff, or noisy when spun by hand. A healthy wheel spins freely and quietly for several seconds without wobbling. If you feel grinding or lateral play along the axle, replace the wheel assembly.
What causes a reformer carriage to pull to one side?
A sideways pull usually results from uneven rope lengths or misaligned side guide wheels. Measure your ropes to ensure the handles match perfectly when pulled taut. If ropes are even, inspect the guide wheels for binding against the inner track.
Long-Term Maintenance Schedule for a Smooth Glide
Following a simple maintenance routine keeps your carriage rolling quietly and extends the life of your equipment.
| Frequency | Target Component | Maintenance Action |
|---|---|---|
| Daily | Aluminum Rails | Wipe clean with a dry microfiber cloth to remove dust |
| Weekly | Wheels & Pulleys | Inspect for hair buildup and wipe with isopropyl alcohol |
| Monthly | Rope Cleats & Bolts | Check rope symmetry and verify axle bolt tightness |
| Semi-Annually | Springs & Frame | Inspect spring coils for gaps and check frame squareness |
| 2 to 3 Years | Full Spring Package | Replace all springs to maintain balanced tension curves |

Similar Posts