How to Safely Clean Reformer Carriage Upholstery
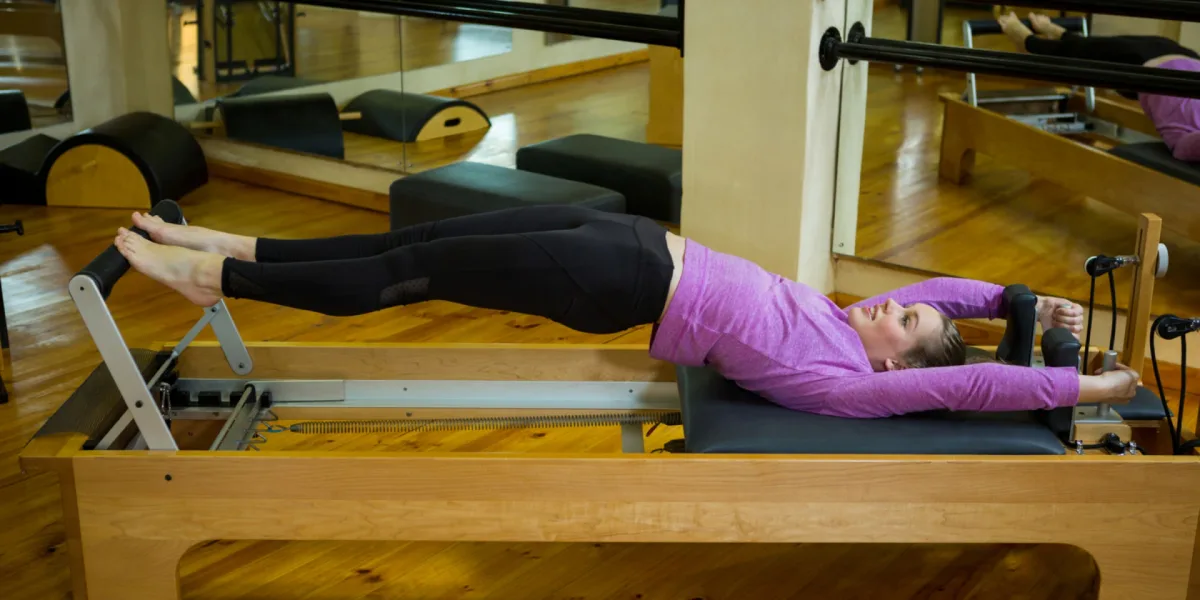
Knowing how to clean reformer carriage upholstery correctly keeps your equipment safe, grippy, and pristine. Harsh sprays and common gym wipes will quickly ruin premium studio vinyl. A gentle, consistent routine protects your investment and prevents premature replacement costs.
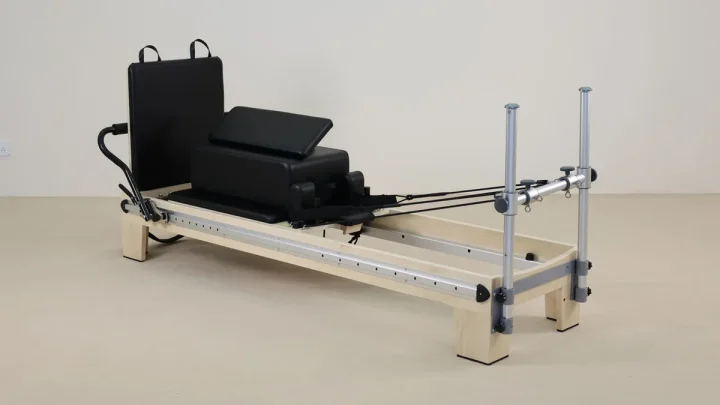
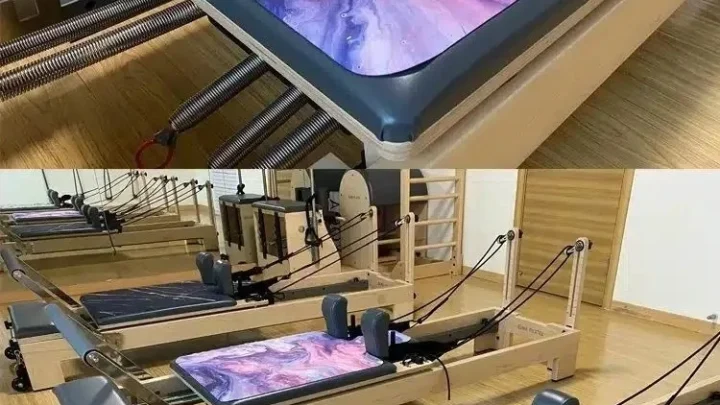
Most commercial reformers use marine-grade vinyl engineered with specialized plasticizers that degrade when exposed to alcohol, bleach, or solvents. Manufacturer care specifications from companies like Balanced Body confirm that mild, pH-neutral cleansers preserve upholstery integrity best. Here is the step-by-step method to care for your carriage properly.
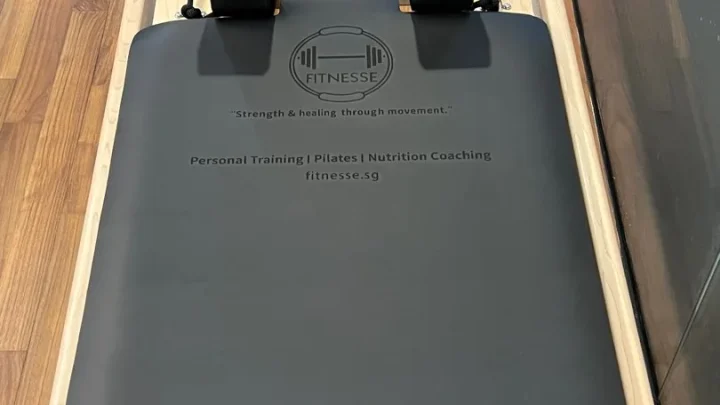
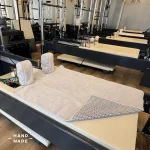
Image source: Web (Bing) / pilatesmovesyou.com (Web image (fair-use with source credit))
Quick Answer
Clean reformer carriage upholstery with warm water and mild dish soap. Mix one drop of soap per sixteen ounces of water. Wipe the surface using a damp microfiber cloth.
Dry the carriage immediately with a second clean towel. Never use alcohol, bleach, or silicone protectants on vinyl.
The Chemistry of Reformer Vinyl: Why the Wrong Cleaner Destroys Your Carriage
Reformer carriages are built with high-grade marine or automotive vinyl. This synthetic material consists of a polyester or cotton backing topped with a polyvinyl chloride (PVC) or polyurethane layer. Manufacturers add liquid plasticizers during production.
These compounds give the vinyl its flexibility, soft feel, and resilient grip.
When you use aggressive disinfectants, the chemicals strip away these protective plasticizers. This chemical reaction is known as plasticizer migration. Once plasticizers leave the material, the vinyl loses its elasticity.
It becomes stiff, brittle, and prone to micro-cracks along the seams.
Harsh cleaners also strip the factory topcoat. This leaves the upholstery sticky to the touch. Body oils, sweat, and dirt then embed directly into the exposed PVC core.
Regular wipe-downs with mild surfactants lift sweat salts without breaking down chemical bonds.
Cleaning Decision Matrix: Matching Your Method to Your Setting
Different Pilates environments require different maintenance protocols. A private home setup does not face the bacterial load of a commercial studio. Matching your cleaning method to your specific environment prevents over-cleaning and extends upholstery life.
| Environment | Primary Concern | Cleaning Frequency | Recommended Solution |
|---|---|---|---|
| Home Studio | Dust, skin oils, light sweat | After each workout | Warm water with a drop of mild dish soap |
| Boutique Group Studio | Fast turnover, heavy sweat, cross-contact | Between every client session | Mild surfactant spray or diluted hypochlorous acid (HOCl) |
| Clinical / Physical Therapy | Pathogen control, medical hygiene standards | Between patients | EPA-registered vinyl-safe disinfectant with neutral pH |
If you run a high-volume studio, avoid standard multi-surface disinfectant wipes. They contain high concentrations of quaternary ammonium compounds or alcohol. If you need clinical-grade sanitization, use a hospital-grade hypochlorous acid spray.
HOCl provides potent pathogen reduction while remaining gentle on vinyl polymers.
Daily Post-Session Reset: The 60-Second Microfiber Protocol
Quick daily resets remove sweat salts before they crystalize and abrade the upholstery. You should always use the two-cloth method for this routine.
- Lightly mist your cloth: Spray your cleaning solution onto a split-fiber microfiber towel. Never spray the carriage directly. Overspray can seep into stitching and rust the underlying carriage hardware.
- Wipe down contact zones: Wipe the carriage pad from top to bottom. Pay special attention to where clients place their shoulders, hips, and feet.
- Dry the surface completely: Take a second, completely dry microfiber cloth and buff the upholstery.
Leaving vinyl to air dry is a common mistake. Standing moisture weakens thread seams and creates slip hazards for the next user. A fast dry wipe restores immediate traction for footwork and planks.
Weekly Deep Cleaning Workflow: Step-by-Step Detailing Guide
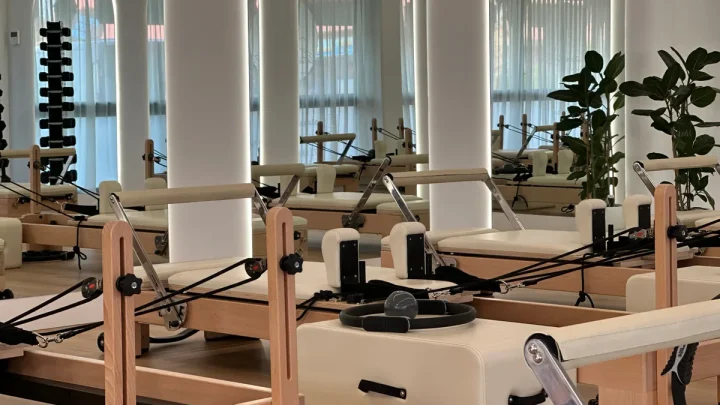
A thorough weekly cleaning removes built-up body lotions, hair oils, and studio dust that daily wipes leave behind. Set aside ten minutes per reformer once a week.
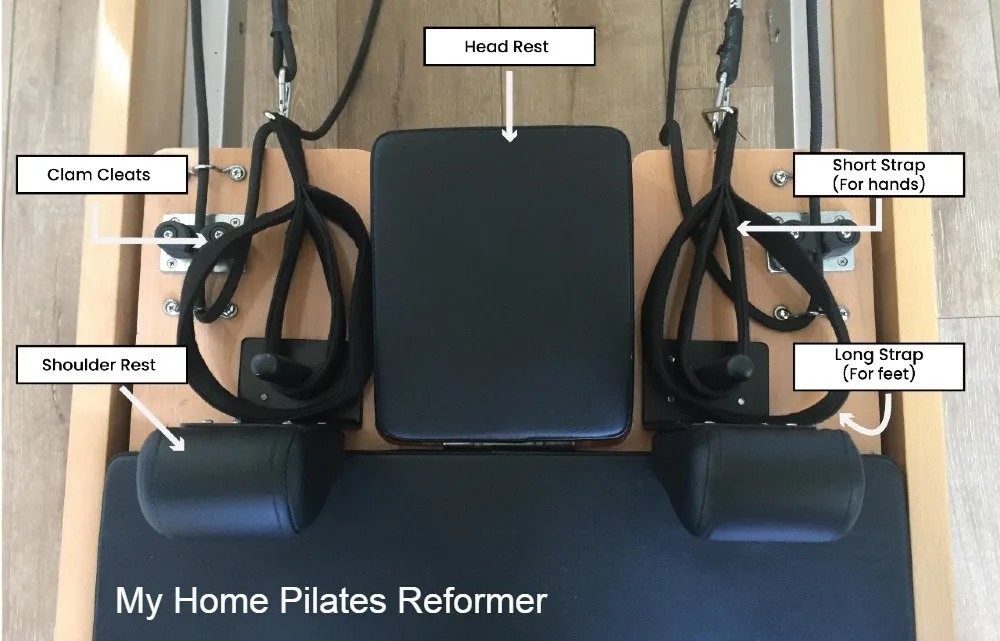
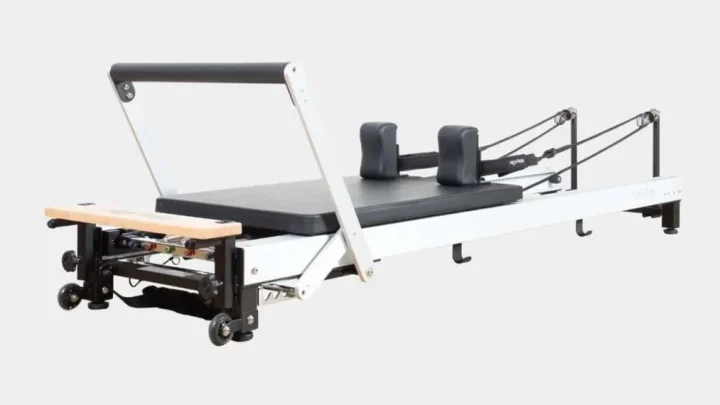
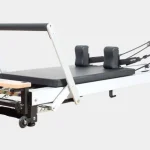
Image source: Bing (Web (fair-use with source credit))
Step 1: Strip Removable Components
Remove the shoulder rests and place them on a clean mat. Lift the headrest to its highest angle to access the vinyl folds underneath.
Step 2: Clear Loose Debris
Vacuum the carriage perimeter using a soft brush attachment. Pay close attention to the gap between the carriage edge and the wooden or aluminum frame.
Step 3: Agitate Textured Vinyl
Mix one teaspoon of pH-neutral dish soap into a quart of warm water. Dip a soft-bristled nylon brush into the solution, shaking off excess liquid. Gently work the bristles in small circles over textured vinyl areas.
This lifts grime embedded in the grain.
Step 4: Detail Seams and Attachments
Wipe down the shoulder rest posts and brackets with your damp microfiber towel. Inspect the vinyl wrapping around the edges of the headrest for oil residue.
Step 5: Rinse and Dry
Wipe the entire carriage with a microfiber cloth dampened only with fresh water to remove soap residue. Finish by drying all surfaces thoroughly with a plush drying towel.
Chemical Breakdown: Safe Formulas vs. Vinyl-Destroying Cleaners
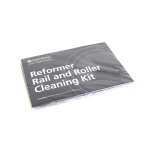
Choosing the right cleaning solution makes the difference between upholstery lasting twelve months or ten years. As of 2026, equipment manufacturers continue to report that chemical damage causes the majority of early upholstery failures.
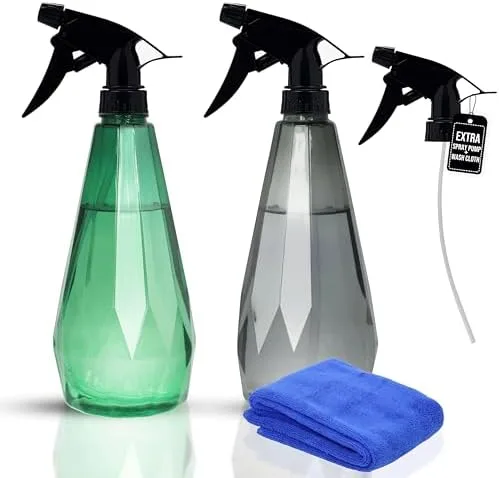
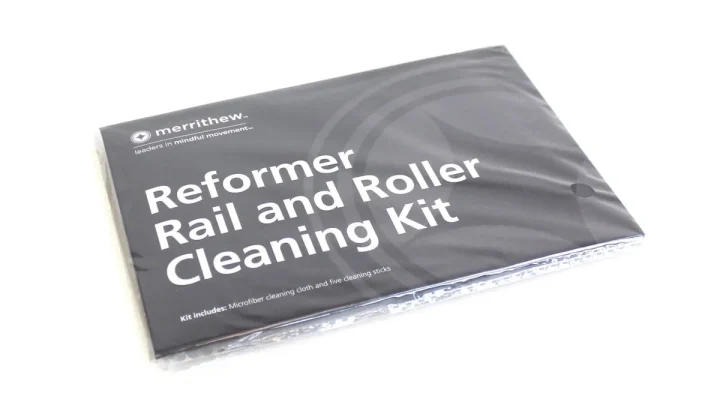
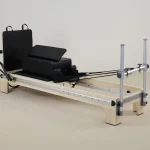
Image source: Web (Bing) / amazon.co.uk (Web image (fair-use with source credit))
Recommended Cleansers
- Mild pH-Neutral Dish Soap: The gold standard for routine care. A mild formula like Dawn or Seventh Generation cuts body oils without leaching plasticizers.
- Specialized Marine Vinyl Cleaners: Cleaners designed for boat seats work well on reformers. They clean thoroughly without leaving greasy silicone films.
- Hypochlorous Acid (HOCl, 100, 200 ppm): A non-corrosive sanitizer that kills bacteria without attacking vinyl polymers.
Harmful Cleansers to Avoid
- Bleach and Sodium Hypochlorite: Destroys topcoat sealants, causing yellowing and surface embrittlement.
- Isopropyl Alcohol: Rapidly dissolves plasticizers, leading to cracking within weeks.
- Armor All or Automotive Protectants: These contain silicone and mineral oils that make the carriage dangerously slick.
- Citrus and d-Limonene Sprays: Essential oils and citrus solvents soften and warp PVC vinyl.
Common Maintenance Mistakes That Ruin Carriage Upholstery
Using overly wet towels is one of the quickest ways to ruin a reformer carriage. When you soak the vinyl, excess liquid runs into the stitched seams. That moisture soaks into the underlying foam and wooden core.
Over time, trapped moisture rots the wooden carriage base and creates persistent mold odors.
Another common mistake is scrubbing textured vinyl with melamine foam sponges, commonly known as Magic Erasers. Melamine acts like ultra-fine sandpaper. It strips the protective topcoat right off the vinyl, creating dull, tacky spots that attract dirt faster.
Stick strictly to microfiber cloths and soft-bristled nylon brushes.
Allowing sweat to air dry after workouts also accelerates upholstery breakdown. Sweat contains body salts, urea, and acidic compounds. As moisture evaporates, those salts crystalize on the surface.
During the next session, friction rubs those sharp salt crystals against the vinyl, creating microscopic tears.
Finally, watch what clients wear onto the carriage. Zippers on the back of workout leggings, metal hair clips, and rings can puncture or scratch vinyl in seconds. A single snag can tear open an entire seam under tension.
Frequently Asked Questions About Reformer Upholstery Care
Can I use Clorox or Lysol wipes on my reformer?
No, you should never use standard Clorox or Lysol wipes on reformer vinyl. These household disinfectant wipes contain high concentrations of alcohol, bleach, or harsh quaternary ammonium compounds. They quickly dry out plasticizers, causing the carriage upholstery to become brittle, discolored, and cracked.
How do I remove stubborn scuffs from the carriage?
You can remove stubborn scuff marks by applying a drop of mild dish soap directly to a damp microfiber cloth. Rub the scuff gently in small circular motions. For tougher marks, use a specialized marine vinyl cleaner and buff the area dry immediately afterward.
What should I do if the vinyl starts feeling sticky?
A sticky feel usually means body oils or old cleaner residues have accumulated on the surface. Clean the carriage with warm water and a drop of clarifying dish soap to lift the residue. Wipe the area thoroughly with a clean, water-dampened cloth, then dry it completely.
Can I use leather conditioner on reformer vinyl?
No, you should never apply automotive or leather conditioners to a reformer carriage. Leather conditioners contain oils and silicones designed for porous animal hides. On synthetic vinyl, these products create a slick, greasy film that makes footwork dangerous and ruins grip.
How often should reformer carriage upholstery be replaced?
Under proper daily and weekly care, commercial reformer upholstery lasts five to eight years. In low-volume home settings, quality vinyl can easily last over a decade. You only need to reupholster when the foam loses support or deep cracks expose the backing fabric.
Long-Term Maintenance Checklist to Maximize Carriage Lifespan
Protecting your carriage requires a mix of smart studio policies and regular upkeep. Simple habit changes prevent the majority of upholstery wear before it starts.
- Enforce a clean sock policy: Require clean grip socks for all users. Bare feet transfer natural body oils, sweat, and moisturizers directly onto the vinyl.
- Block direct sunlight: Ultraviolet rays degrade PVC polymers and fade upholstery colors. Position reformers away from unshaded windows or install UV-blocking window films.
- Wipe after every single workout: Never leave sweat sitting on the carriage between sessions or overnight.
- Inspect seams and staples monthly: Check the underside of the carriage for loose upholstery staples or pulling thread seams. Catching a loose edge early prevents full-panel tears.
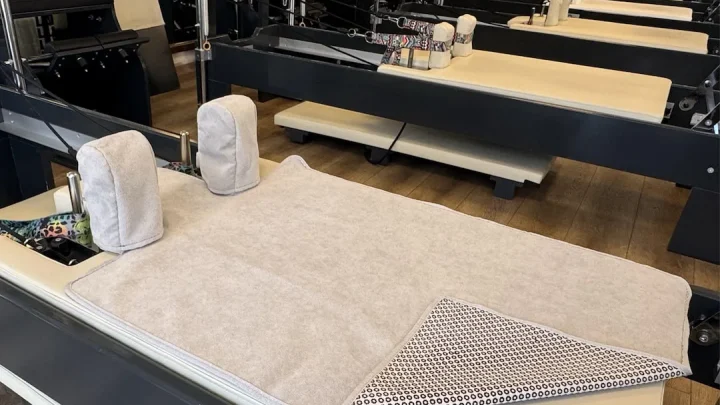
- Use dedicated reformer towels: For high-sweat sessions, place a non-slip reformer towel over the carriage. This catches perspiration at the source and reduces cleaning frequency.
Following this consistent care routine keeps your upholstery looking showroom fresh, maintains safe tactile grip, and protects your equipment investment for years to come.

Similar Posts